Golden Hour Photography: How to Create Truly Textured Images
06 March 2026
![]() 2
2

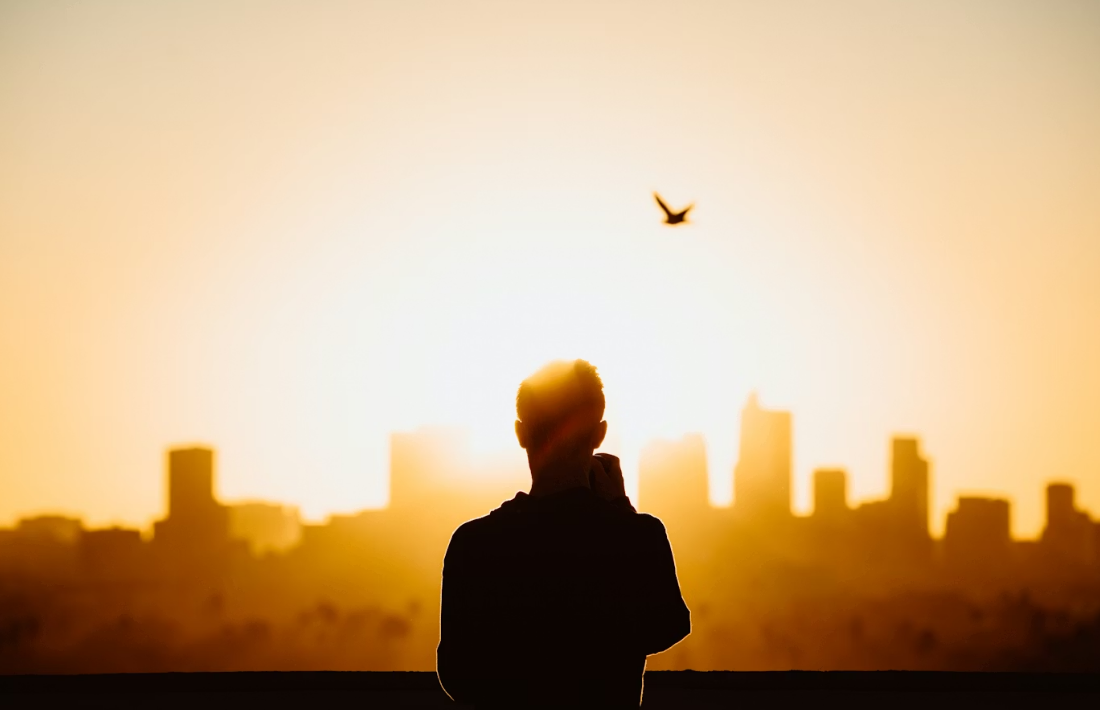
Golden hour photography is a timeless subject in the field of photography. Whether beginners or experienced photographers, many are repeatedly drawn to the unique qualities of light during this period. Shortly after sunrise or just before sunset, the sun strikes the ground at a very low angle, making the world feel as if it is wrapped in a warm, soft filter. The edges of buildings are outlined by light, skin tones appear natural and translucent, and landscapes take on a strong sense of depth and spatial layering.
What Is Golden Hour
From a photographic definition, golden hour refers to a period when the sun is at a very low elevation, usually occurring shortly after sunrise and shortly before sunset. Because sunlight travels through a thicker layer of the atmosphere, shorter blue wavelengths are heavily scattered, leaving a spectrum dominated by yellow, orange, and red tones. As a result, the overall color temperature of the image becomes noticeably warm.
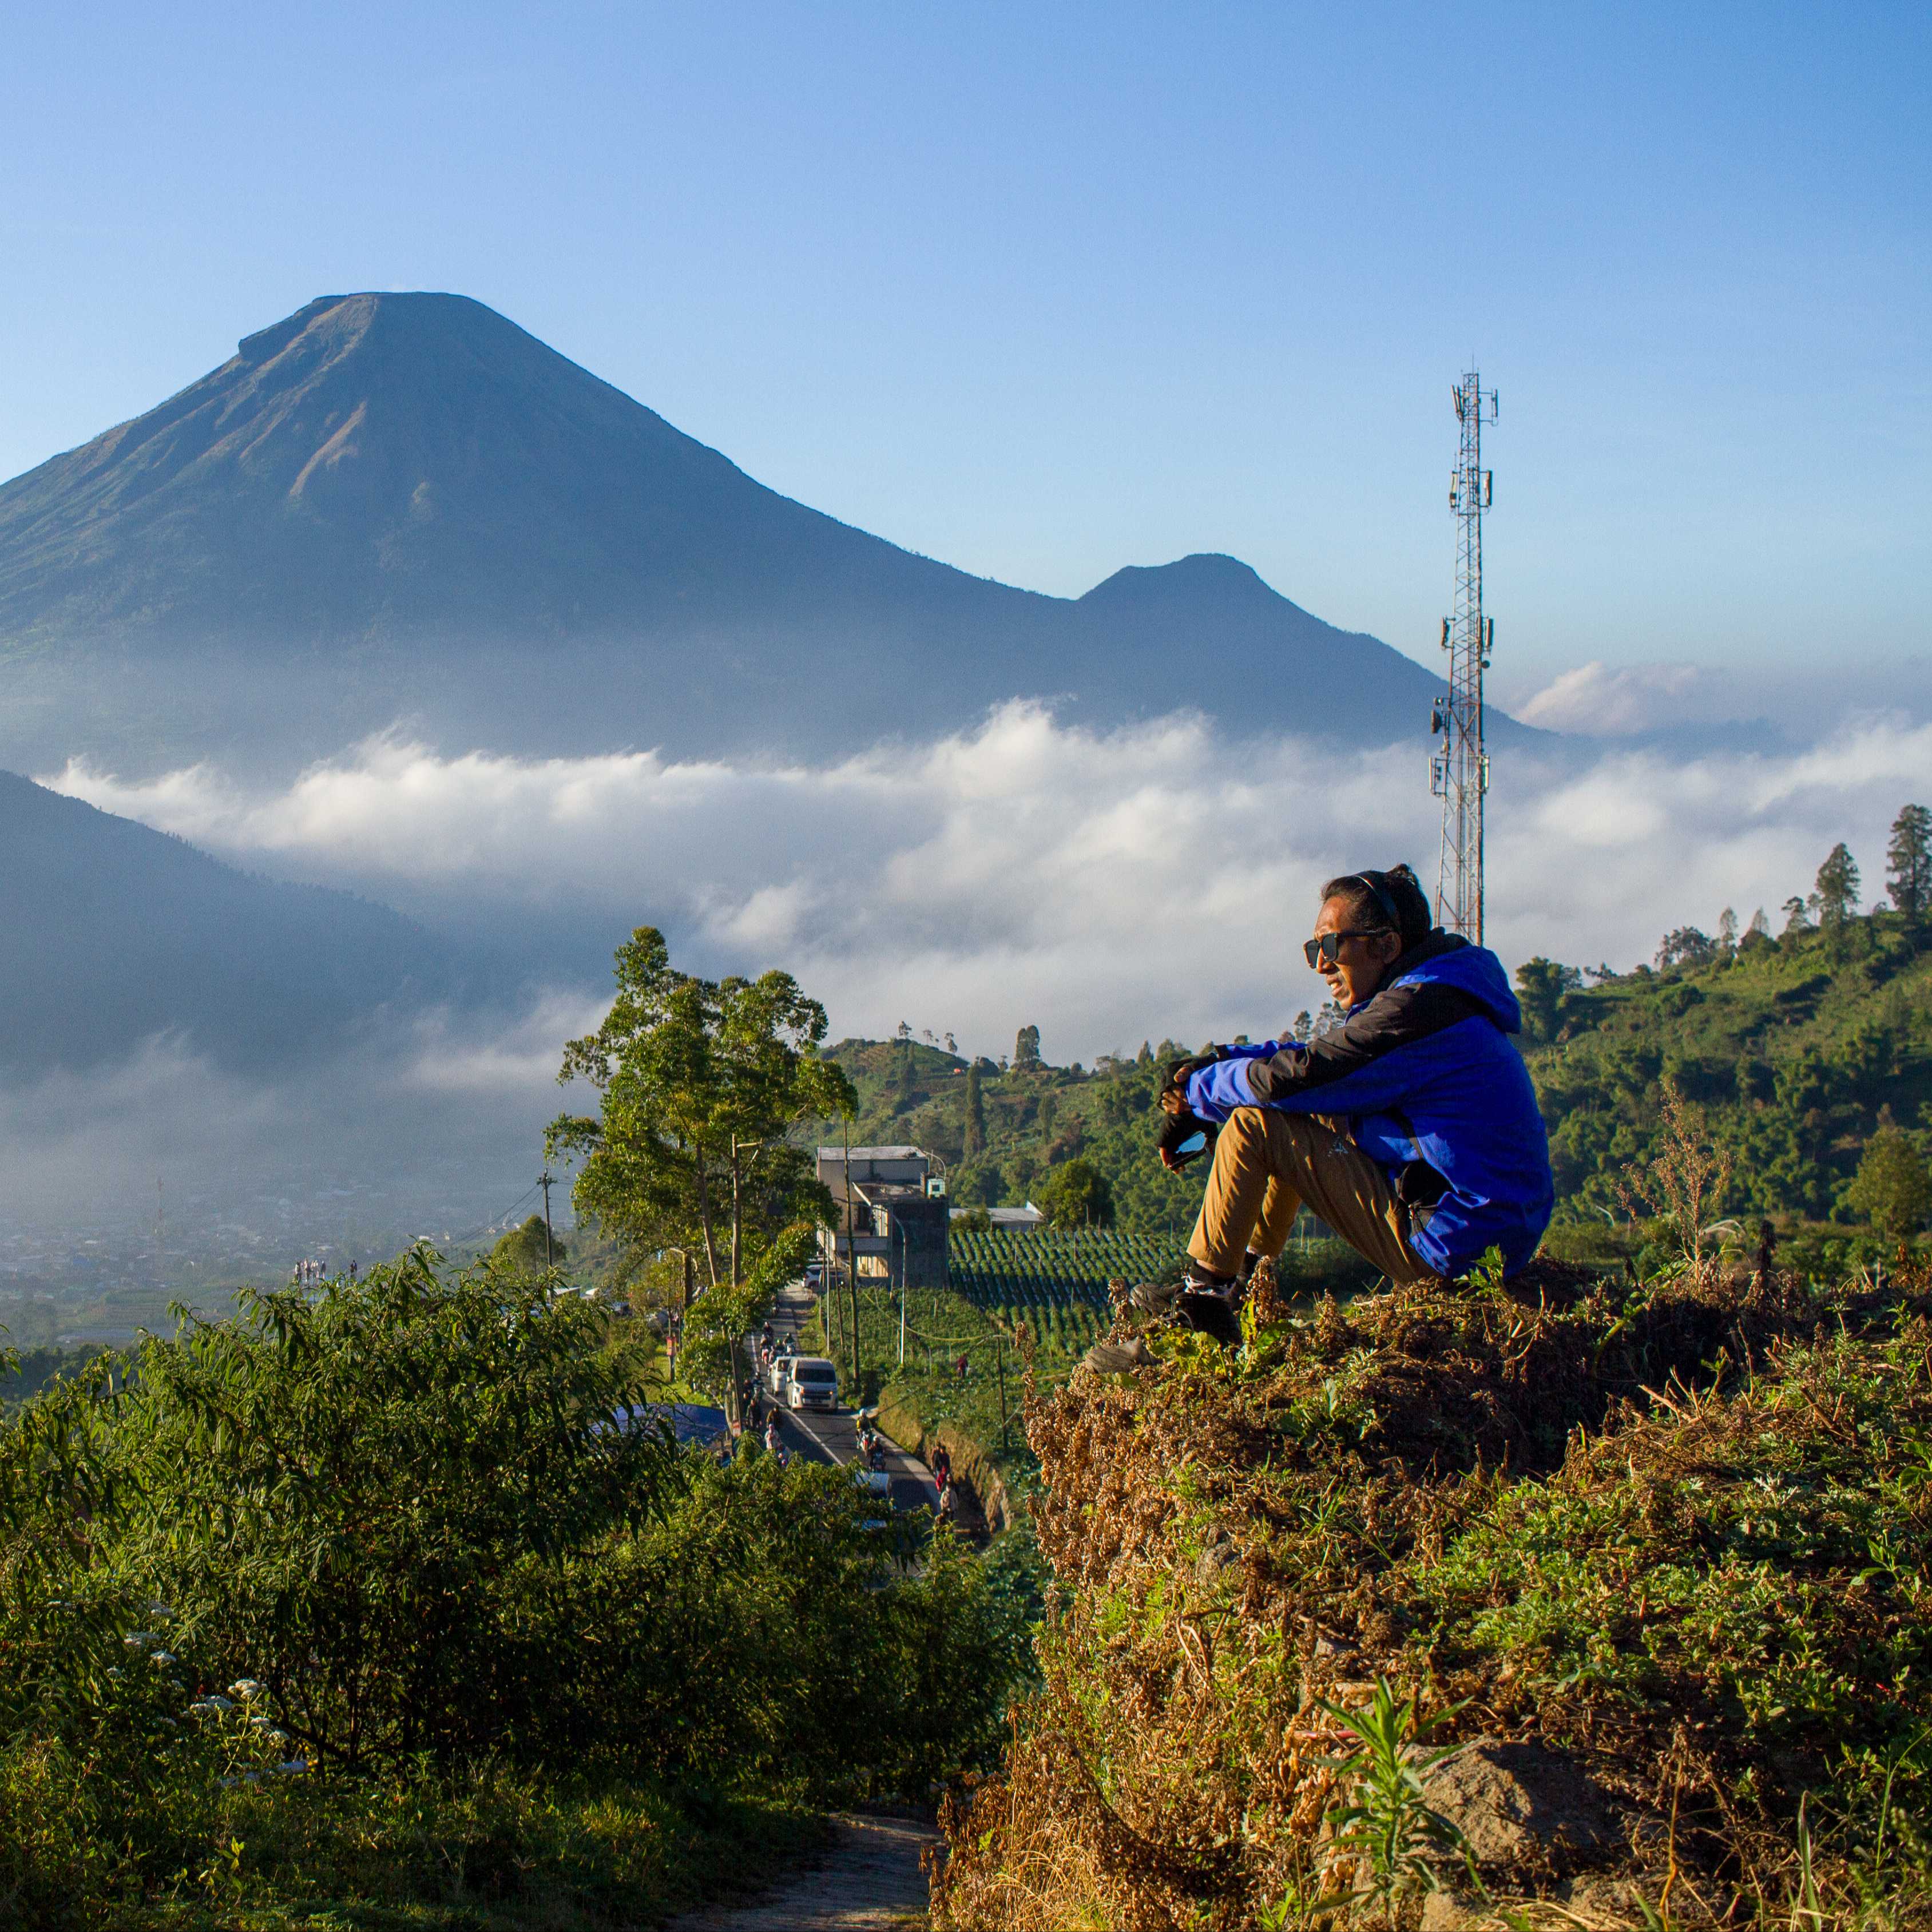
In practical shooting, golden hour is not a fixed time window measured precisely by the minute. It is influenced by geographic latitude, seasonal changes, and surrounding terrain. In open plains or along coastlines, golden hour tends to last longer, and light transitions are smoother. In dense urban environments or mountainous terrain, buildings and landforms may shorten the usable window, while simultaneously creating more dramatic light and shadow effects.
Visually, golden hour light has strong directionality. Low-angle sunlight creates long shadows across surfaces. These shadows are soft rather than harsh, enhancing the sense of volume and depth in an image. This is why golden hour photography is particularly well suited for expressing spatial structure and emotional atmosphere.
.PNG)
What Weather and Air Conditions Make an Ideal Golden Hour More Likely
Many people carefully calculate sunset time and arrive at the shooting location early, only to find that the golden hour looks far less impressive than expected. The reason is usually not timing, but weather and air conditions. Golden hour does not appear in a “textbook-perfect” form every day. Understanding which conditions favor high-quality light can significantly reduce the risk of missing the moment.
Weather Type
Clear to partly cloudy skies are the most stable and reliable conditions. A small amount of high-altitude thin cloud can soften sunlight and create rich color transitions in the sky. Too much cloud cover directly blocks the sun and weakens warm tones. Completely cloudless skies are stable, but the sky itself tends to look simpler and relies more heavily on foreground elements to support the image.
Cloud Height
High clouds or thin cirrus clouds are especially friendly to golden hour. They are easily tinted gold or orange-red by low-angle sunlight, allowing the sky itself to become a strong visual subject. Low, thick clouds often block the sun earlier, dramatically shortening the golden hour or causing it to disappear entirely.
Air Quality
A moderate amount of airborne particles enhances light scattering, resulting in warmer tones and softer transitions. This is why golden hour often looks especially rich and layered on days with slightly higher humidity, light haze, or moisture in the air. When the air is extremely clean, contrast increases and light appears harder. When pollution is severe, scenes tend to look gray and muddy, losing clarity and color separation.
Humidity
Moderate to slightly high humidity helps create smoother light transitions, especially around sunrise or sunset, and naturally enhances atmospheric perspective in distant scenes. When humidity is very low, light edges become sharper, which is not always favorable for landscape photography.
In practice, several simple signals can help reduce the risk of disappointment. One to two hours before sunset, observe the sky. If the sun remains clearly visible and the clouds appear broken or thin, the probability of an ideal golden hour is relatively high. If the sun is already fully covered by thick clouds and the cloud layer moves slowly, the visual impact is likely limited, and it may be better to shift focus toward silhouettes or overall environmental mood.
.PNG)
What Is the Difference Between Golden Hour and Blue Hour
In photography discussions, golden hour and blue hour are often mentioned together, but they differ clearly in expressive qualities and creative approach. Golden hour occurs when the sun is still visible or just above the horizon. The overall color tone is warm, emotional expression is more direct, and it is well suited for creating intimate, warm, romantic, or nostalgic atmospheres.
Blue hour occurs after sunset or before sunrise, when the sun has completely dropped below the horizon. The sky is illuminated primarily by indirect scattered light, and the overall color temperature shifts toward blue. City lights begin to play a major visual role. Compared with golden hour, blue hour emphasizes calmness, restraint, and a sense of order.
In actual shooting workflows, many photographers treat these two periods as a single continuous creative window. Starting during golden hour allows capture of the most emotionally charged light, then transitioning into blue hour introduces cool–warm contrast, revealing different facets of the same scene. This continuity in time gives photographic work stronger narrative depth.
What Preparation Is Needed in Advance
Golden hour photography relies heavily on preparation. Because light changes rapidly and usable time is limited, any hesitation or confusion on location can easily result in missed opportunities.
The first step is preparing for time and direction. Checking sunrise or sunset time is only the foundation. It is better to use an app that predicts both the timing and direction of the sun. In urban environments, it is important to confirm how buildings block or shape the light. In natural settings, terrain, trees, and elevation changes all affect light behavior.
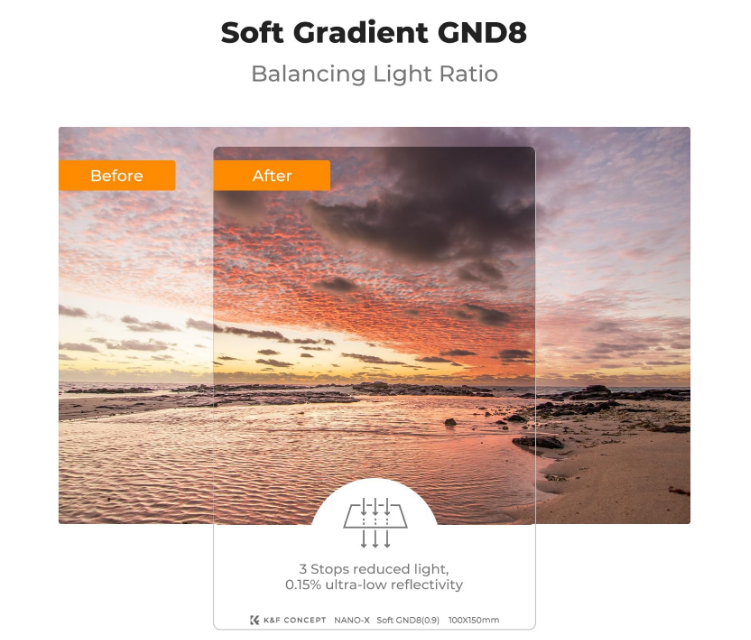
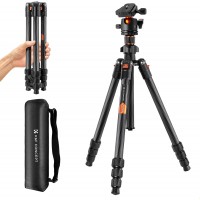
Equipment preparation is equally critical. Although golden hour light appears soft, brightness changes quickly. A tripod provides a stable foundation in many situations, especially as light fades. A well-designed camera bag helps with fast lens changes and quick access to accessories, reducing unnecessary movement. For landscape and city photography, GND filters are extremely useful for controlling brightness differences between sky and ground, allowing more balanced exposures to be achieved on location.
What to Pay Attention to During Shooting
Once shooting begins, understanding light direction directly determines the visual outcome. Front lighting produces clean, transparent images with higher color saturation, making it suitable for documenting the overall scene. Side lighting emphasizes structure and texture, especially effective for architecture, terrain, and human contours. Backlighting is particularly expressive during golden hour, naturally producing halos, rim highlights, and silhouettes.
Exposure control is a constant concern during shooting. As the sun’s height changes, ambient brightness can fluctuate significantly in a short time. Regularly checking the histogram helps assess whether highlights are being clipped. In most cases, preserving highlight detail provides greater flexibility for post-processing.
Beyond composition, attention should also be paid to dynamic elements within the frame. Pedestrians, vehicles, clouds, birds, or waves often gain a strong sense of life under golden hour light. These elements do not need to be forced; patience and timely observation are key.
Post-Processing
The core of post-processing in golden hour photography is to reinforce the advantages of natural light rather than to drastically alter the image style. Basic adjustments usually begin with white balance, fine-tuned according to memory of the scene to maintain a natural warm tendency.
For tonal relationships, curves or highlight and shadow controls can be used to enhance depth. Slightly lowering highlights and lifting shadow detail makes images more visually comfortable. During color adjustment, special attention should be paid to yellow, orange, and red channels, avoiding excessive saturation that can cause unnatural results.
When processing silhouette images, darkening the shadows helps remove noise and emphasizes the golden tones of the light. When the foreground is illuminated by sunlight, using a GND filter during shooting is ideal, as it protects highlights while preventing foreground overexposure.
.PNG)
How to Compose for Golden Hour Photography
Composition in golden hour photography serves as the structure that carries light. The rule of thirds and split compositions are among the most common and reliable approaches. Placing the horizon or subject in a position with visual tension helps balance the visual weight of sky and ground.
Using foreground elements is an effective way to enhance depth. Low-angle sunlight is ideal for revealing texture and form, whether it is roads, rocks, grass, or urban elements such as railings and steps.
Silhouette composition is especially powerful during golden hour. When subjects are placed against strong backlight, details simplify into clear outlines. This approach emphasizes form and emotion, making it well suited for storytelling and atmosphere.
In urban environments, roads, building alignments, and divisions of light and shadow can be used to guide the viewer’s eye deeper into the frame, allowing light itself to become a visual leading line.
Conclusion
The appeal of golden hour photography lies in the close alignment between natural light and environmental conditions. By understanding the optical characteristics of golden hour, distinguishing it from blue hour, preparing thoroughly, staying sensitive to light changes during shooting, and applying restrained yet precise post-processing, photographers can fully express the true value of this time period.
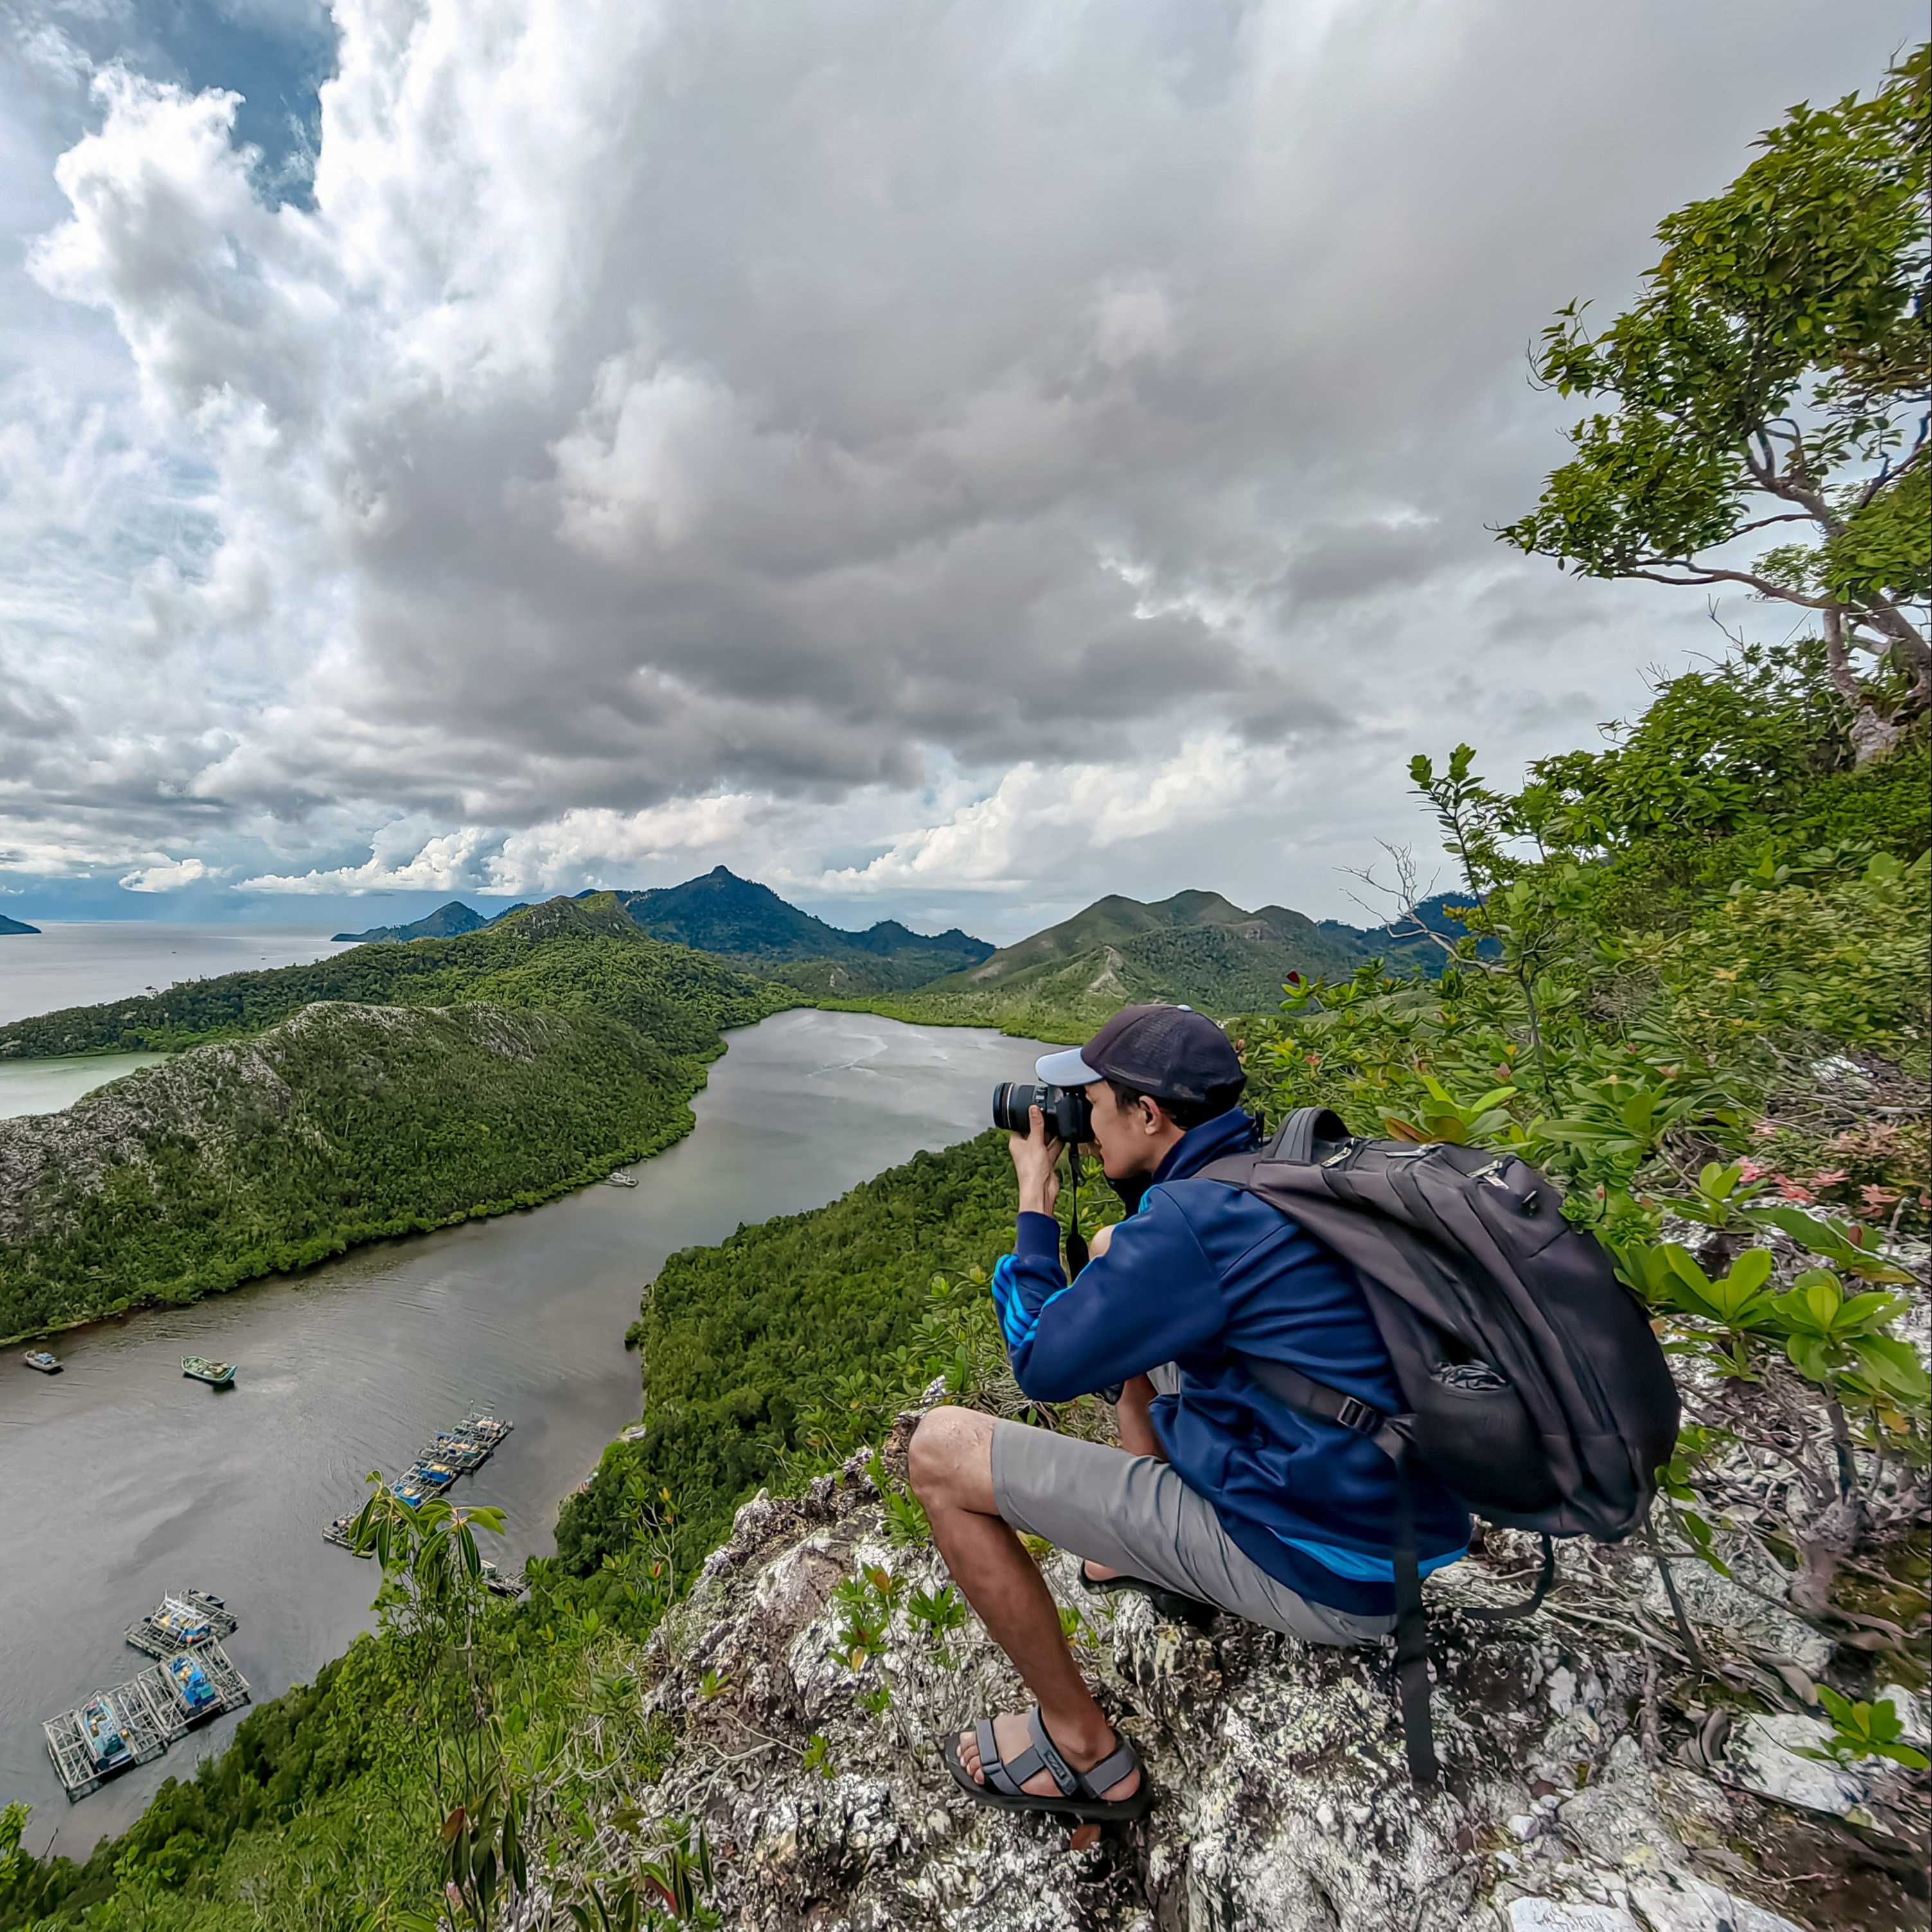
Whether in the city, by the sea, or in the forest, careful location choice and patient observation of light consistently offer high creative returns. Over time, repeated shooting builds an intuitive sense of light, a skill that often proves more important than any individual technique.


ALL COMMENT 2
Add a comment...
Thank you very much, these tips are very helpful for me as I am learning more about landscape photography.
2026-03-19 09:28:14

Tips ini sangat bermanfaat sekali bagi saya sangat suka memotret sunset maupun sunrise. Terimakasih banyak atas tips yang luar biasa ini 👏🤩
2026-03-17 12:33:04


 Your account requires approval before you can login.


