K&F CONCEPT Nano-Xcel Series variable ND 2-400 filter review
09 March 2026
![]() 9
9

Talk Photography was offered the opportunity to review this filter by K&F CONCEPT, and we were sent a FOC sample in our choice of thread size by K&F. I’ve been aware of K&F previously, having used their lens adapters previously: they have seemed of good quality and worked well for the task required, so I was happy to take the sample for review.
Initial impressions
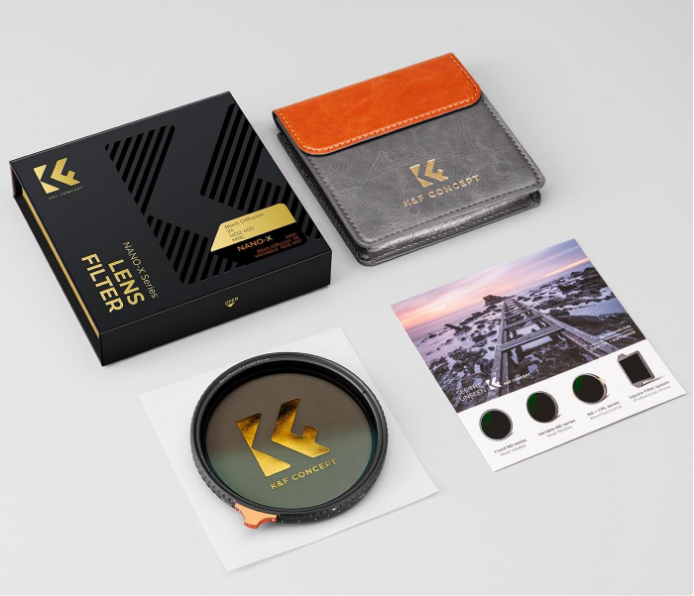
Initial impressions were very good, with a good quality outer box in an orange metallic finish and inside the filter in a sturdy fitted protective case plus some wipes and a couple of printed sheets. There were no instructions, and presumably if you’re buying this kind of product then you will be familiar with the way to use it, but if I’d just received this as an order then I would be very happy with it.
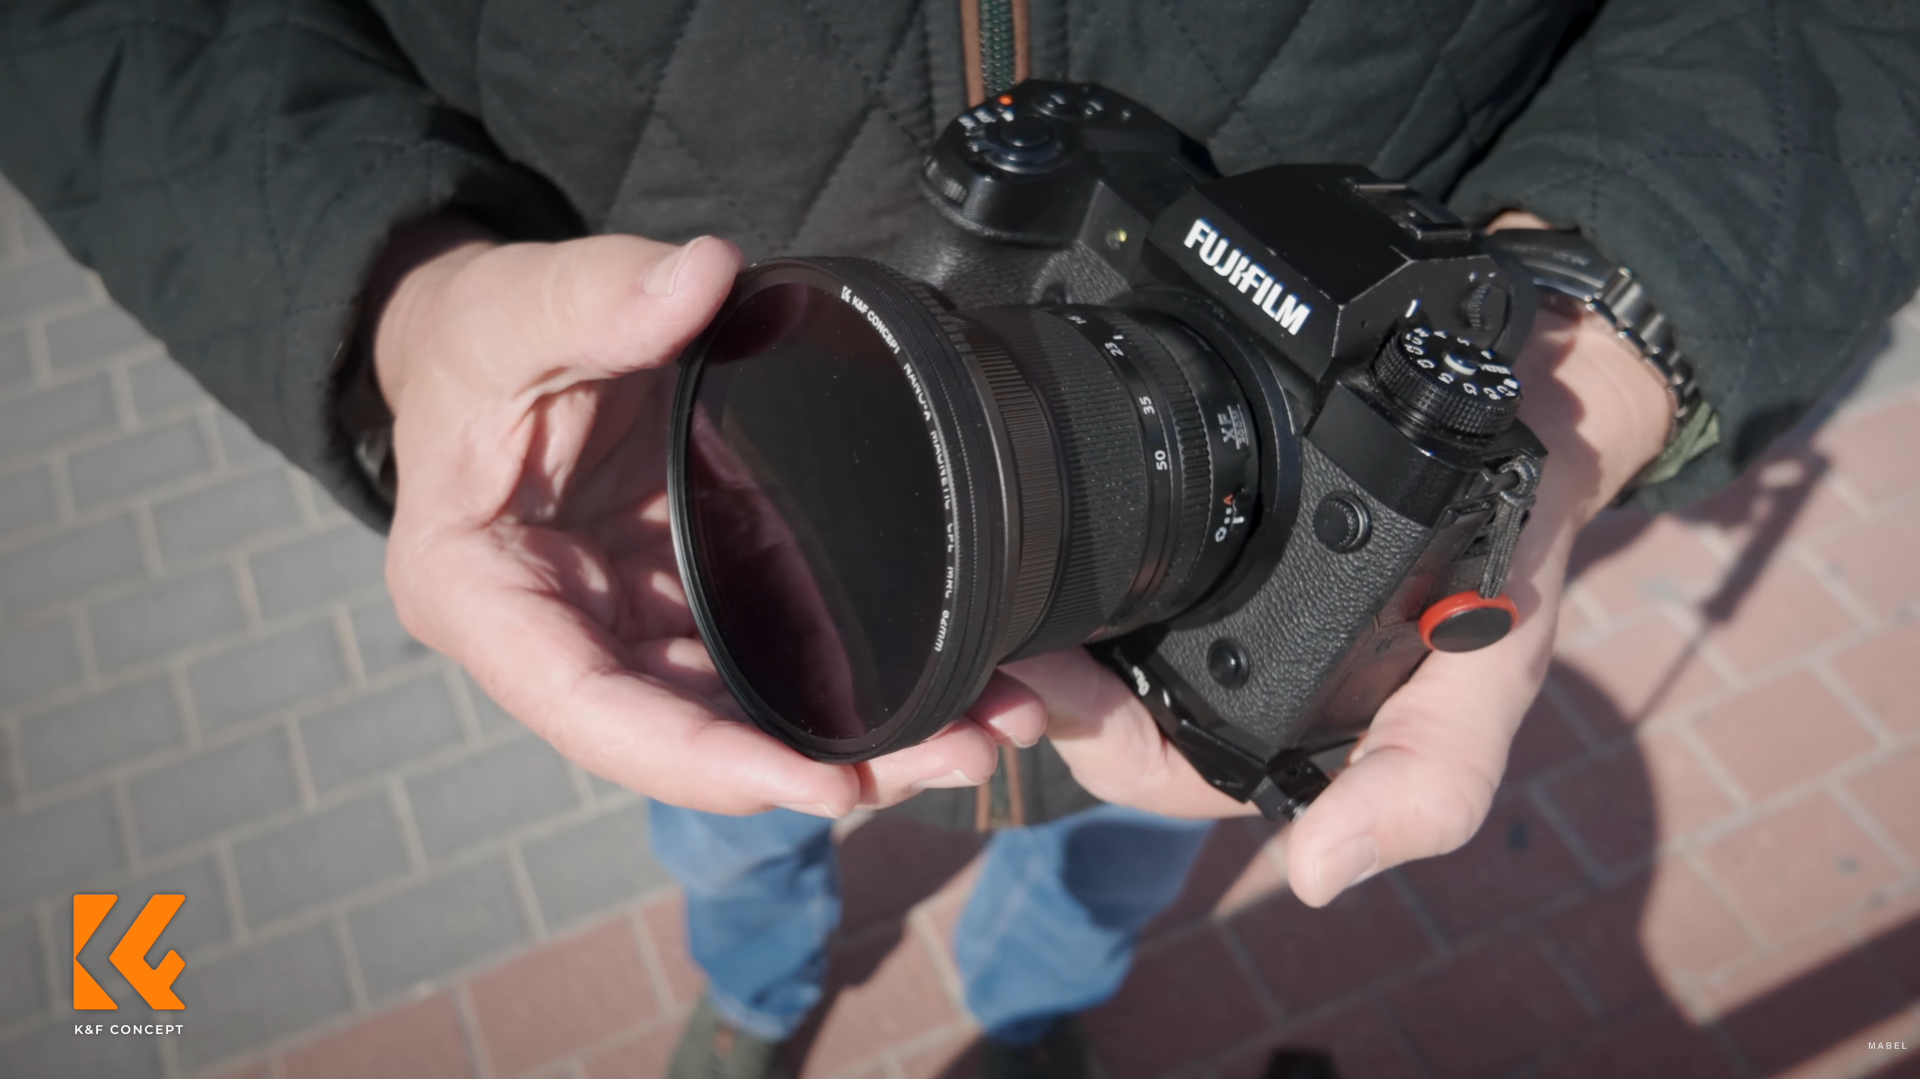
Construction and fitting
Out of the case, the filter unit looks very nicely made, and feels substantial in the hand. Printed around the upper section on the outside of the ring in addition to the makers name and filter range is the thread size (77mm in this case) plus a Max-Min range with a series of 12 dots that reduce in size, indicating a possible working range for the filter. Turning the upper ring against the inner, the movement is nicely damped and feels very smooth – it would not be easily knocked out of place when handling the camera.
Testing process
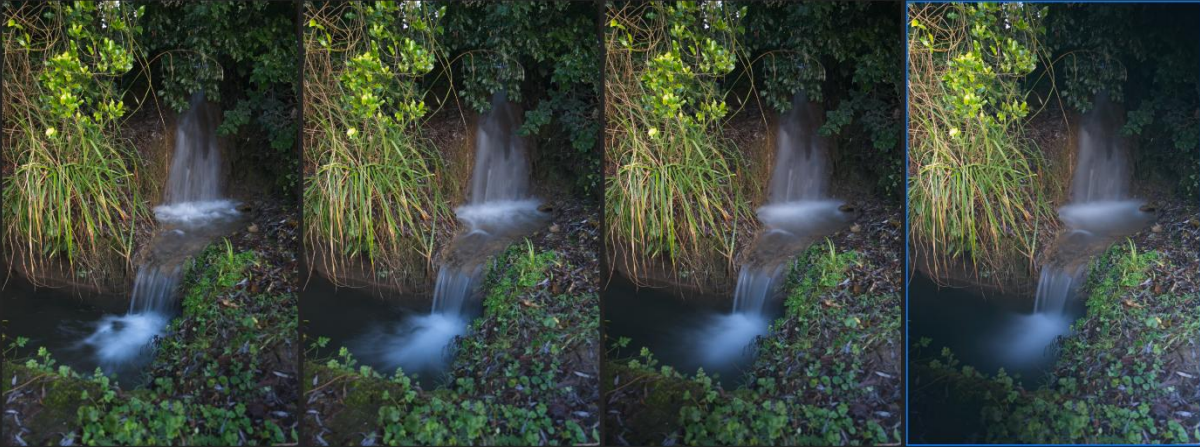
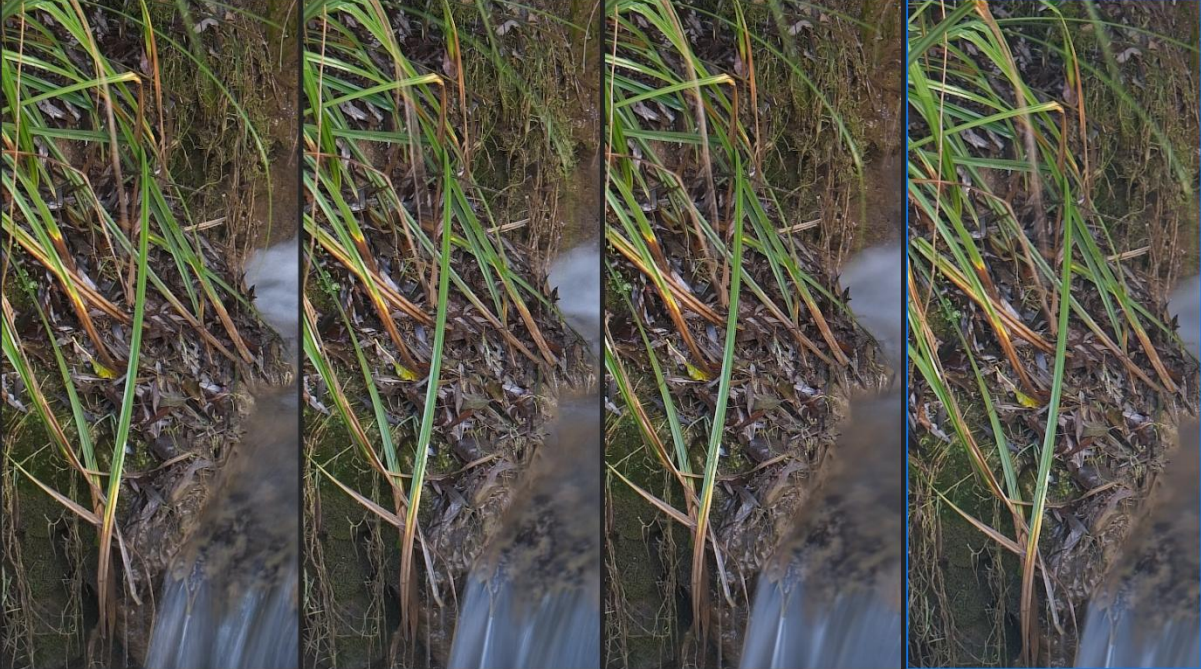
The filter as already mentioned, was fitted to a Sony 24-105 G series zoom on my workhorse A7III camera. There were reports that wider angle lenses could make the interference artifacts from this type of filter more obvious, so I was keen to try this at a range of focal lengths. The camera was mounted on a heavy steel tripod with ball head, and steadyshot was turned off throughout testing. When reviewing the images afterward, the shutter speed, aperture and focal lengths used were noted for evaluation of the results. Images were reviewed ‘straight out of camera’ as ARW files for direct comparison, and where useful, a fixed adjustment was made to all images of the same set.
In use
In many ways the filter works exactly as you would expect, mostly. When in place on my mirrorless A7III and in aperture priority mode with fixed ISO, the camera would always adjust the brightness of the viewfinder to compensate for the strength of the filter, so it didn’t matter whether it was on minimum or maximum because the image on the rear screen always looked the same. What was important was to look at the shutter speed in order to gauge whether it was where it needed to be, and to be sure not to turn the filter too far when seeking a longer exposure.
Now, we need to talk about artifacts
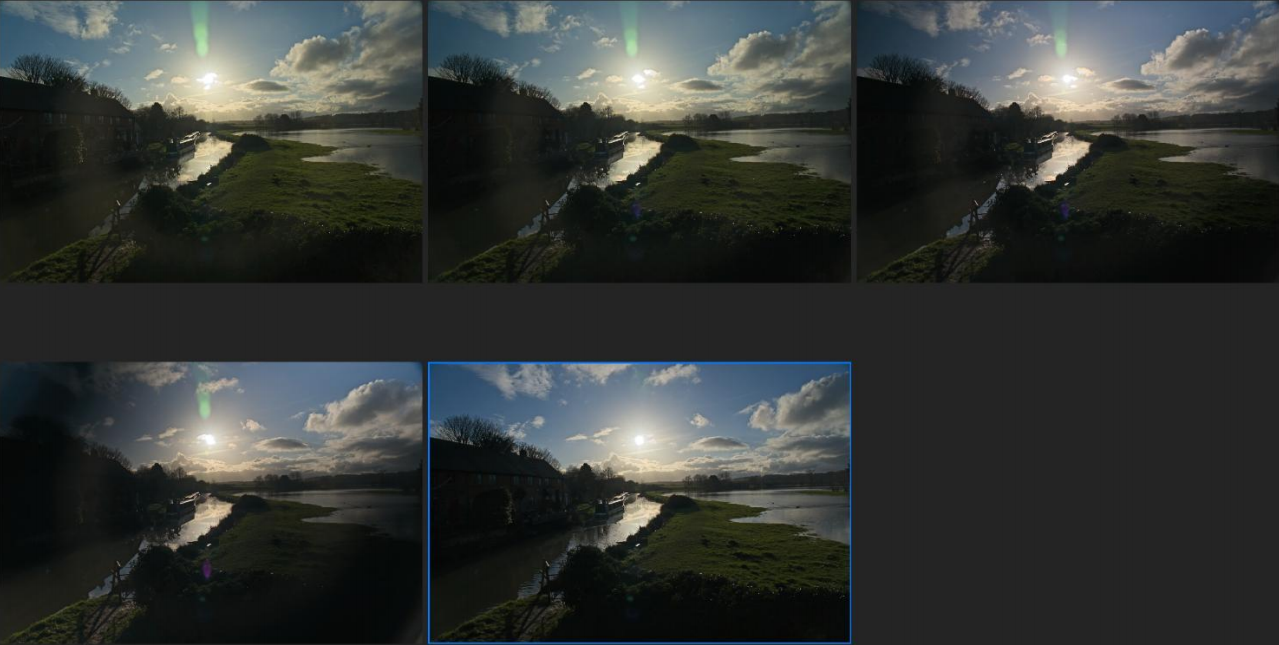
Using the lens on a wide-angle setting, and even zooming in to about 50mm, around the maximum density setting it was possible to cause 2 opposite corners to go very dark and 2 corners light. This was not always immediately obvious if you didn’t know what to look for, and in mild cases, it would be easy to fix in post. Zooming the lens out to 105mm effectively eliminated the artifacts, although turning too far past maximum could make the image lose contrast and look rather grey, however this was obvious on the screen. But I need to emphasize that if the front element of the lens was not turned past the biggest spot on the rim then this was kept under control, and in normal use by someone who knew what they were using, this should never be a problem.
Any other issues?
-
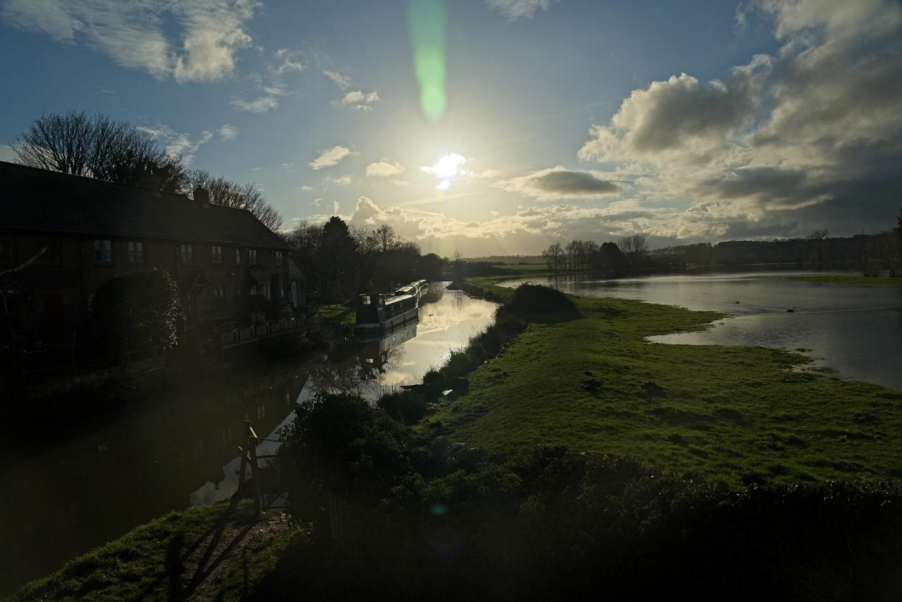
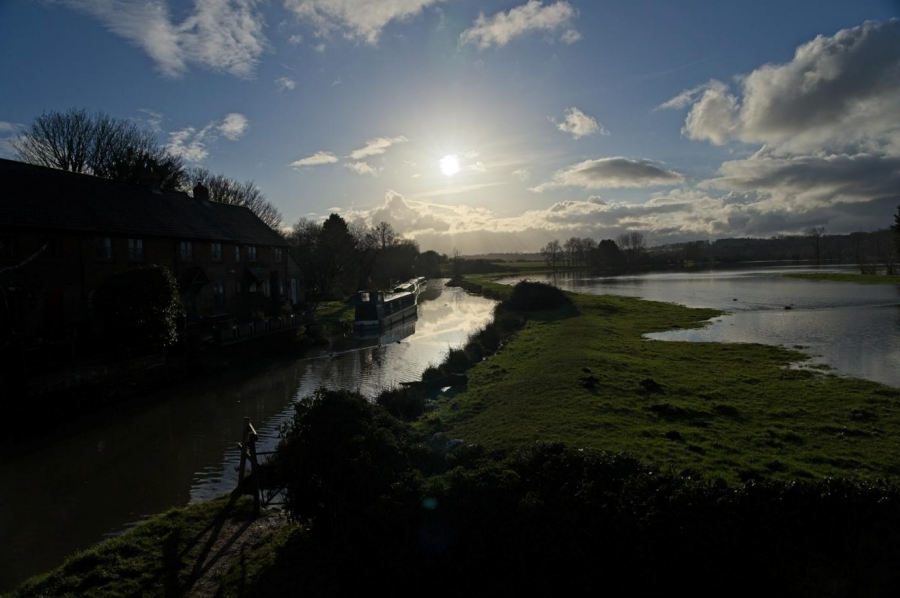
Shooting directly into the sun with it near the middle of the frame cause major flare problems, with green and purple blobs and a bit of a halo, very clear when comparing pictures with and without the filter. However shooting with the sun close to one edge considerably reduced the artifact issue. This was a surprise, but this flaw wouldn’t stop me using the filter.
-
Depending on light direction, the action of the rings wasn’t always consistent, probably because of the way light was striking the first polariser: sometimes turning the front filter would have an immediate effect, sometimes no effect at all until the 4th or 5th spot was reached up from minimum. This is part of the nature of polarisers, and experience would help the effect be managed.
-
The filter is not completely neutral, and produced a variable warm cast, like an old fashioned tobacco filter. The effect was quite pleasing, and could be eliminated easily if shooting raw, but it might be problematic if the colours must be neutral and consistency was required with and without the filter.
OK, that’s the negative – what about the good?
Well first off, the filter appeared not to have any obvious effect on sharpness, and comparing sections of the image at 100% with and without showed no obvious difference. I don’t have test charts, but the images were quite as sharp as when the filter was removed. This is important, and speaks to the quality of the optical materials used, that I could put 2 additional pieces of glass in front of the lens and not see an obvious change, because not all filters are made as well as this.
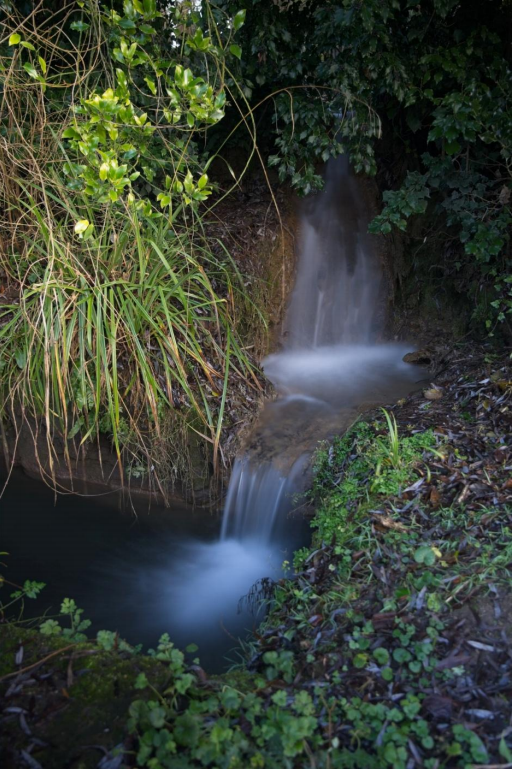
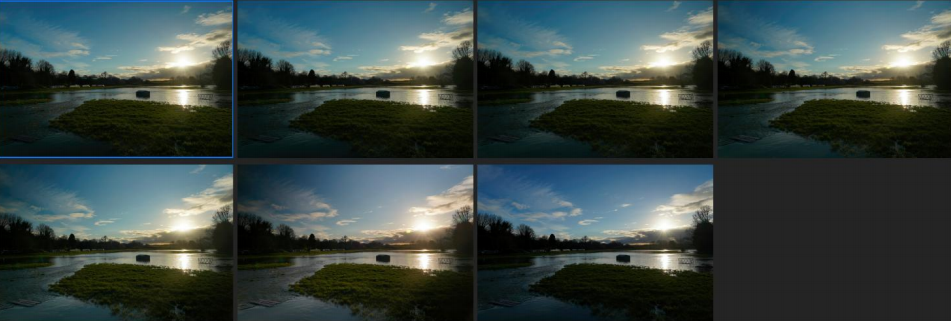
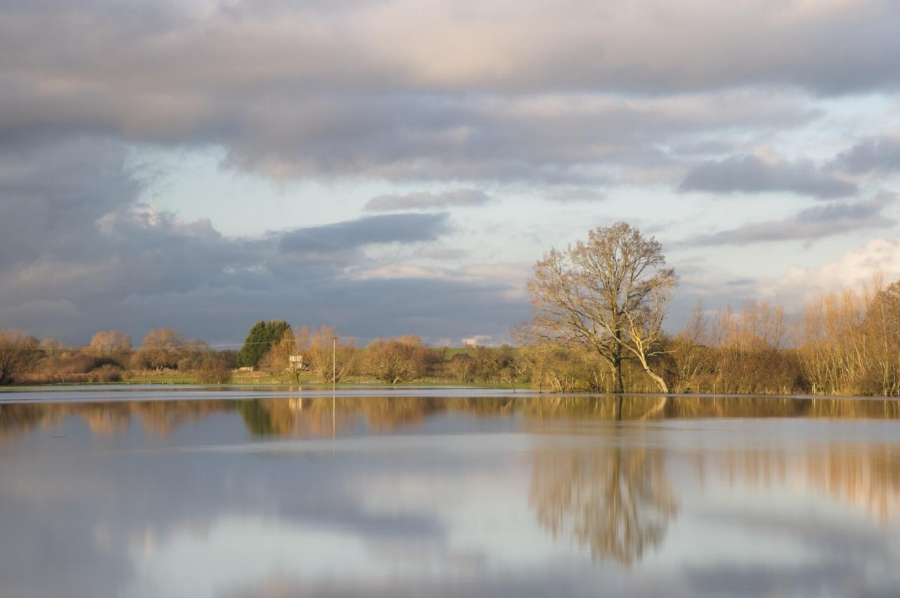
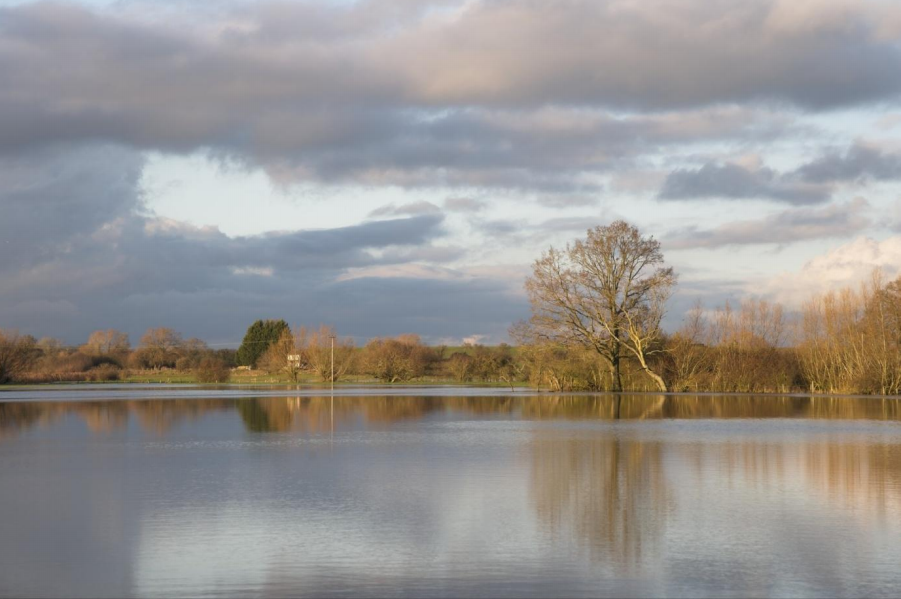
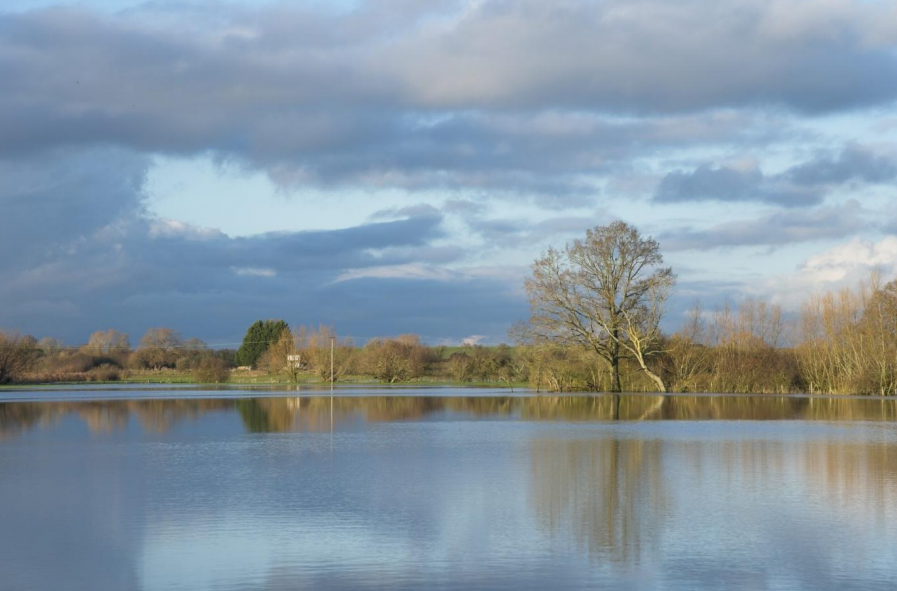
Next, the filter does what you expect it to – you get what you have paid for. Depending on light direction, the filter itself appeared to absorb between 1.5 and 2.5 stops when set to minimum, with an adjustment range covering around another 4 to 8 stops depending on focal length selected and light direction. To put some context on that in terms of exposure time, without the filter in place, my photograph of Lock Cottage in the distance required 1/125th at f8, but with the filter at maximum I could use a 2.5 second exposure to smooth the water.
The filter doesn’t affect sunstars, if those are something you want. Shooting into the sun at f22 produced very pleasing sunstars typical for the lens, that were unaffected by the presence of the filter.
Conclusions
This is not a filter for someone who doesn’t know how it works and doesn’t want to learn. To get the best from this requires practice and experience. However when used with care, knowledge and intent it can produce some excellent results and works as expected bar the colour shift.
Although I suggested at the beginning that this was not a fit and forget filter because of the issues with a lens hood, it IS a filter that can be mounted and used intentionally all the time because of the excellent optical qualities. This may well find a place in my travel bag.
Example pictures


ALL COMMENT 7

I use this filter almost every time I film, I think it is one of the most necessary filters for a photographer and filmmaker
2026-03-26 13:45:37

Un artículo excelente. Las fotos que acompañan el artículo son muy clarificadoras respecto a la calidad del filtro
2026-03-26 09:43:54


Es uno de los artículos que espero probar pronto en el laboratorio
2026-03-20 03:32:28

EstebanV Helvy Giovanny Sierra Vargas
Excelente que hagan este tipo de pruebas tan claras 👏 Ojalá puedas hacerlo pronto
2026-03-21 05:12:48
Los filtros de KyF me han convencido, me encanta usarlos para general una atmósfera "diferente" a las fotos.
2026-03-20 00:47:37

J'aime beaucoup la sincérité du testeur, et la franchise de l'analyse du filtre. Ça donne confiance...
2026-03-17 06:21:32


 Your account requires approval before you can login.


