
Macro Photography is often considered difficult because everything gets amplified: focusing errors are magnified, camera shake is magnified, lighting problems are magnified, and the consequences of parameter choices are magnified as well. Once you understand where these “magnified problems” come from, macro photography becomes highly rational and predictable instead.
Macro photography does not require special talent, nor does it require expensive equipment. It is closer to an engineering-oriented form of photography. As long as you understand the principles, choose the right tools, and follow a stable workflow, anyone can start Macro Photography and consistently produce sharp, detailed, and well-textured images.
.PNG)
What Is Macro Photography
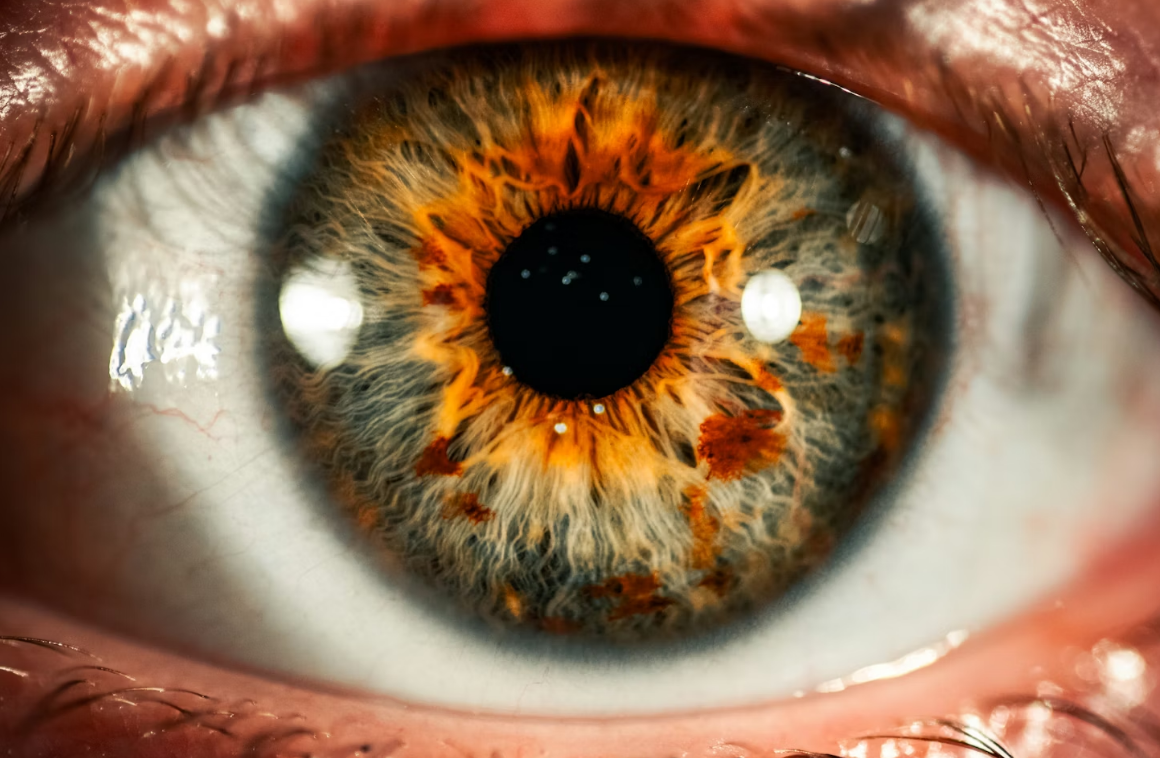
From an imaging perspective, the essence of Macro Photography is high-magnification imaging. When the size of the subject projected onto the sensor approaches or equals its real-world size, details that are normally insignificant become the main subject of the image. At this point, depth of field becomes extremely shallow, and focus control and stability become the core challenges.
In practical creative work, there is no need to obsess over whether you strictly reach a 1:1 reproduction ratio. As long as the image is centered on microscopic details that cannot be directly perceived with the naked eye, the photograph already conforms to the visual logic of macro photography.
What Equipment Is Needed for Macro Photography?
.PNG)
The Principle and Practical Use of Extension Tubes
Extension tubes work by increasing the flange distance of the lens, forcing it to focus only at much closer distances. The greater the extension, the higher the achievable magnification, but this also brings several direct consequences.
The first is light loss. The longer the extension tube, the smaller the effective aperture becomes, and less light reaches the sensor. The second is a severely compressed focusing range, often limited to a very narrow distance band. The third is a change in focusing method: focusing relies more on moving the camera forward and backward rather than rotating the focus ring.
In practice, extension tubes are better suited for static macro subjects and controlled environments. When used together with a tripod, fine forward and backward adjustments of the camera position allow very precise control over the focus plane, which is extremely efficient for macro photography.
.PNG)
Key Differences Between Macro Lenses and Ordinary Lenses
Lenses with true macro capability are optically optimized for close-range performance. Ordinary lenses may look acceptable in the center at their minimum focusing distance, but their edge sharpness often degrades noticeably. Macro lenses, even at very close focusing distances, are designed to maintain uniform sharpness across the frame.
Magnification ratio is another critical difference. True macro lenses typically offer 1:1 reproduction, meaning full detail can be captured without cropping. For Macro Photography that prioritizes image integrity and detail, this capability is highly important.
In addition, macro lenses usually feature longer focus throw and finer manual focus damping, making them better suited for precise adjustments under extremely shallow depth of field. These design details directly affect the overall shooting experience in macro photography.
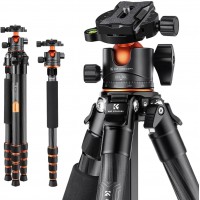
What Kind of Tripod Should Be Used for Macro Photography?
The key requirements for a macro photography tripod are not maximum load capacity, but stability and adjustment precision. An ideal macro tripod should have several characteristics.
First, it should support low-angle shooting. Tripods with reversible center columns or wide low-angle leg positions are better suited for photographing insects and plants close to the ground. Second, it should have sufficient rigidity, with minimal flex or rebound after the legs are locked. Third, the head should allow fine adjustments, enabling small and precise framing changes.
In macro photography, composition often depends on millimeter-level adjustments. A stable and smooth tripod head is far more important than how much weight the tripod can support. The tripod is not just for reducing camera shake; it makes the entire shooting process repeatable and controllable.
【脚架CTA】
Why Macro Photography Almost Always Requires Supplemental Lighting
Macro photography typically uses relatively small apertures, which directly reduces the amount of light reaching the sensor. At very close shooting distances, the lens itself can block ambient light, causing obvious shadows on the subject.
Supplemental lighting in macro photography serves three main purposes. First, it provides sufficient brightness to keep ISO values low. Second, it helps shape details, enhancing texture and three-dimensionality through controlled light and shadow. Third, it increases the shooting success rate by freeing shutter speed from reliance on ambient light.
An ideal macro light should be capable of producing soft light at close distances. The closer the light source is to the subject, the more diffusion is required to avoid harsh highlights and hard shadows. Adjustable output power is equally important, allowing precise control over exposure and contrast.
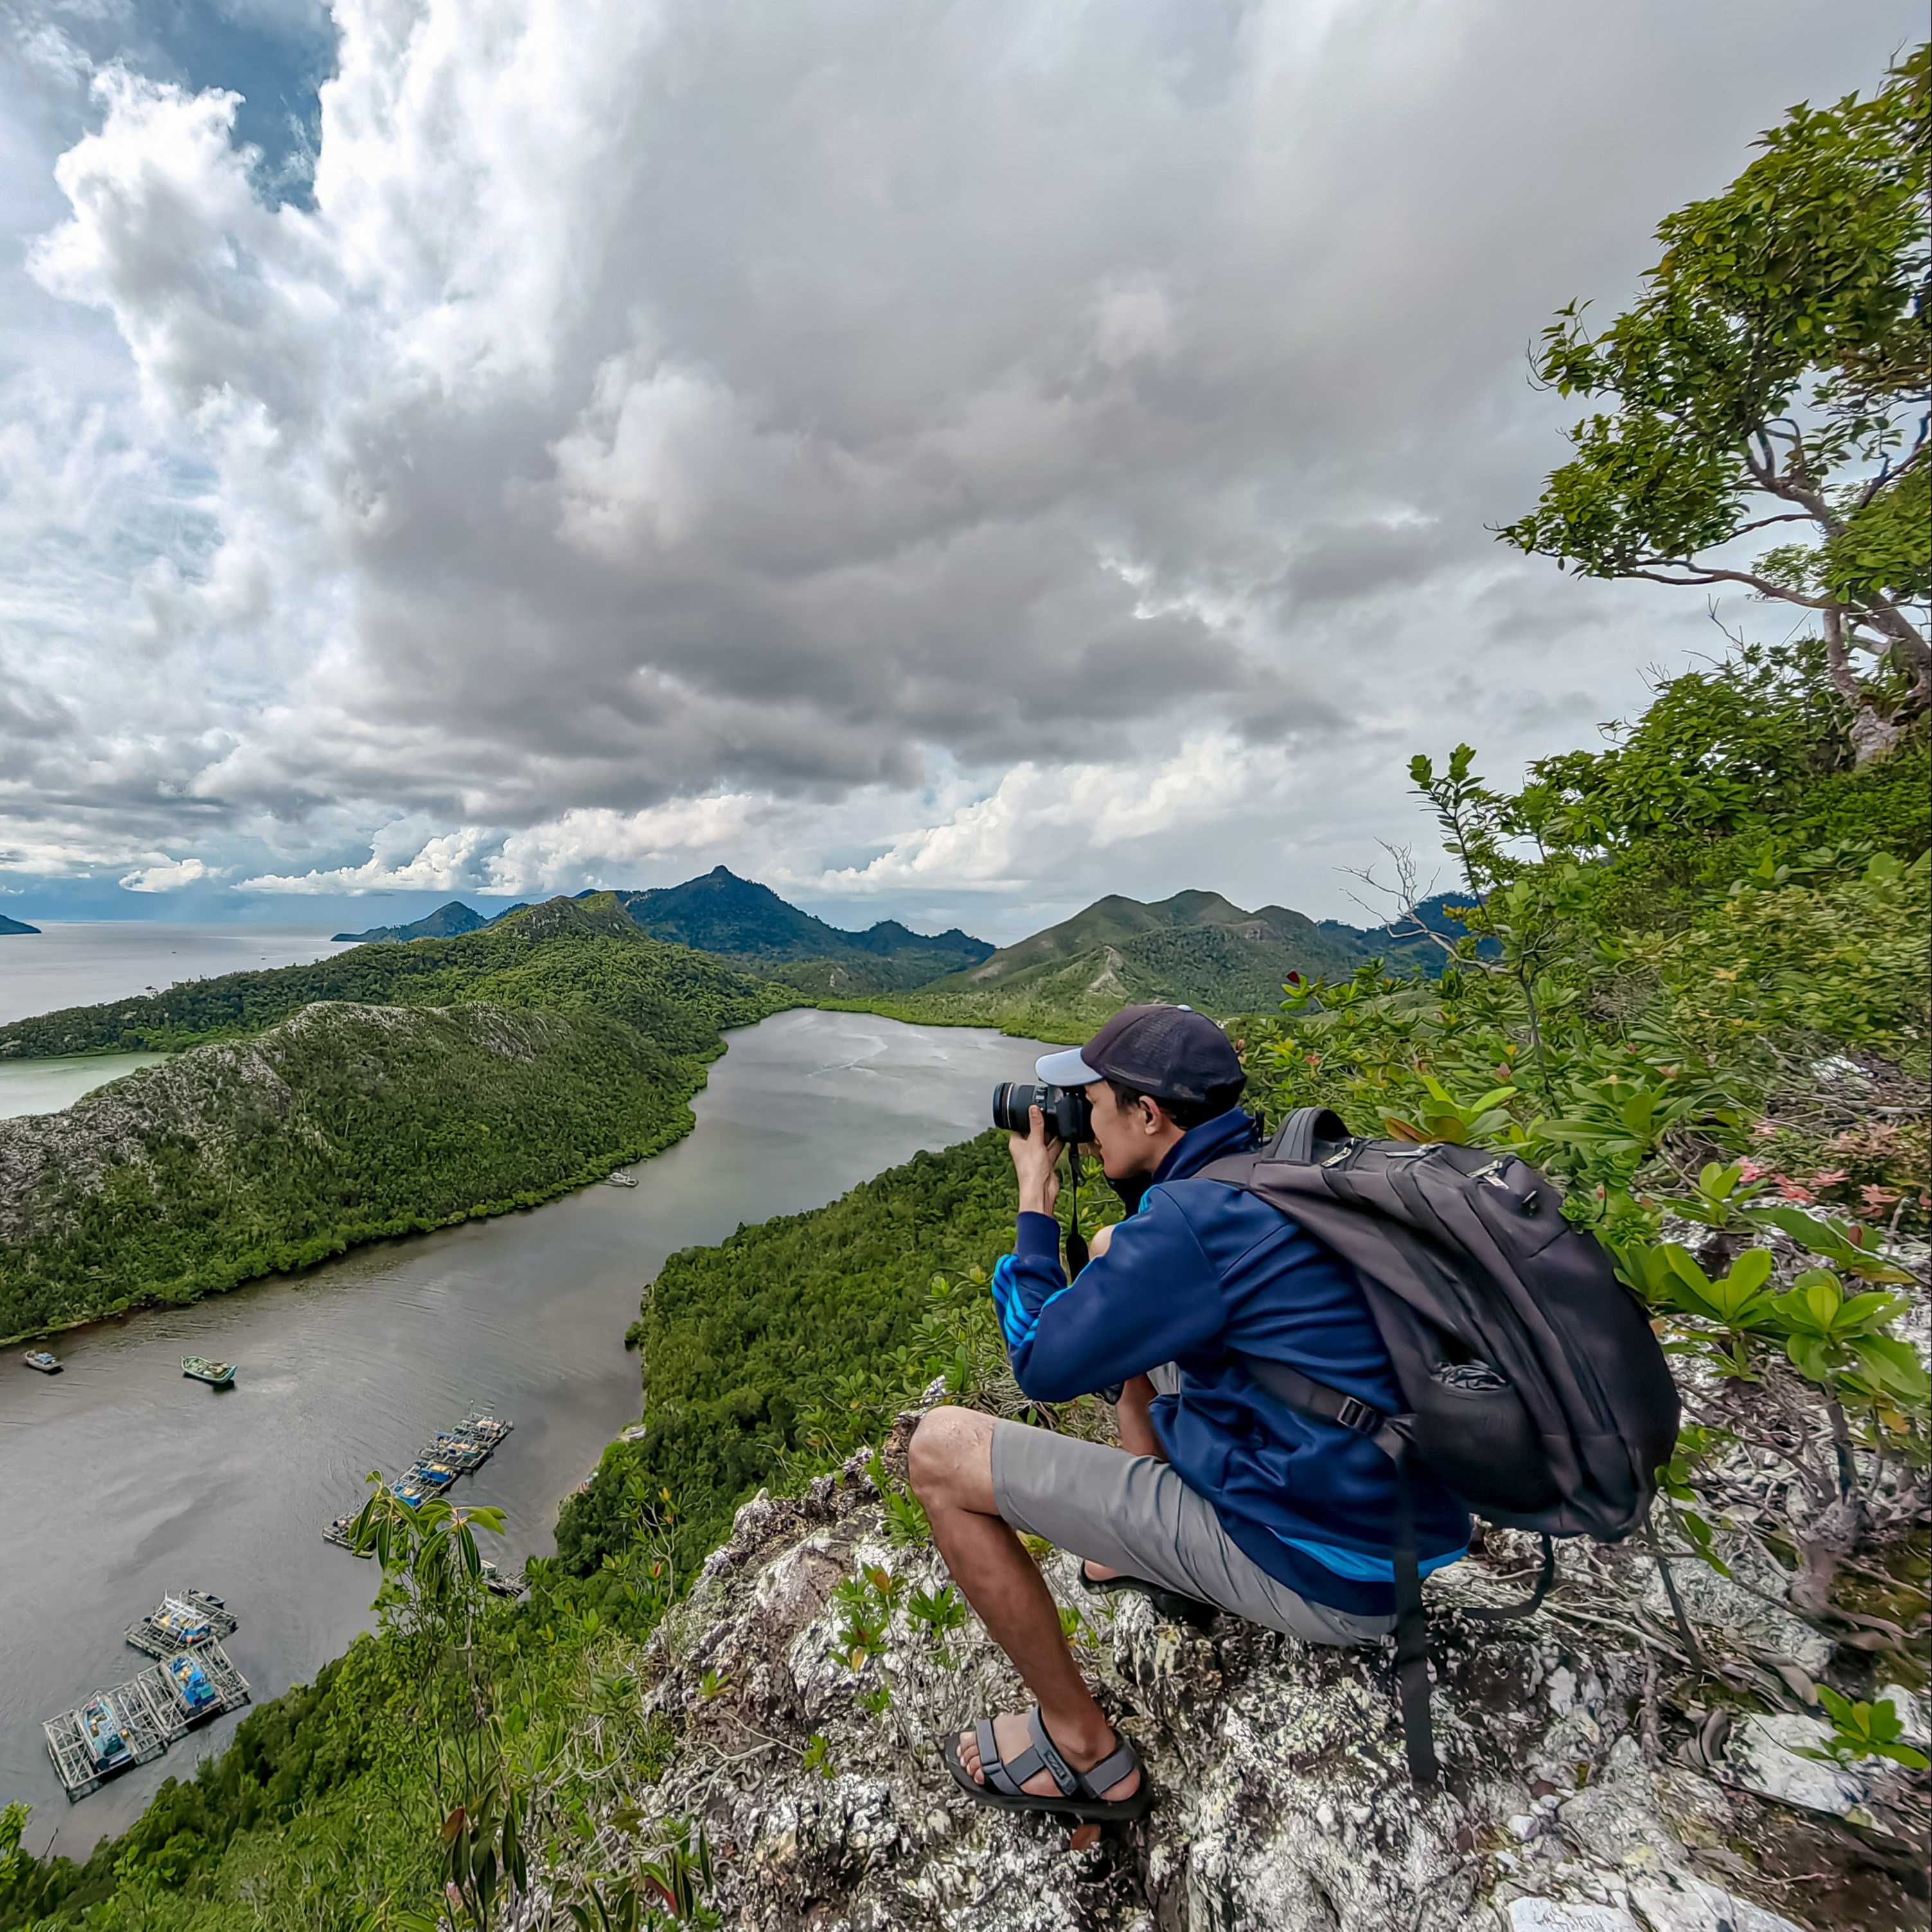
Preparation Before Macro Photography
Pre-shoot preparation largely determines how smoothly the rest of the workflow will go. For natural subjects, it is best to choose periods with minimal wind, with early morning often being ideal. At lower temperatures, insects are less active, making focusing much easier.
Before shooting, observe the distance between the subject and the background. In macro photography, background blur alone cannot completely eliminate color and brightness distractions. Adjusting the shooting angle is often more effective than relying on post-processing.
For still-life macro photography, preparation can include fixing the subject in place and pre-setting lighting positions to create a repeatable shooting setup. This approach is particularly effective for systematic macro photography practice.
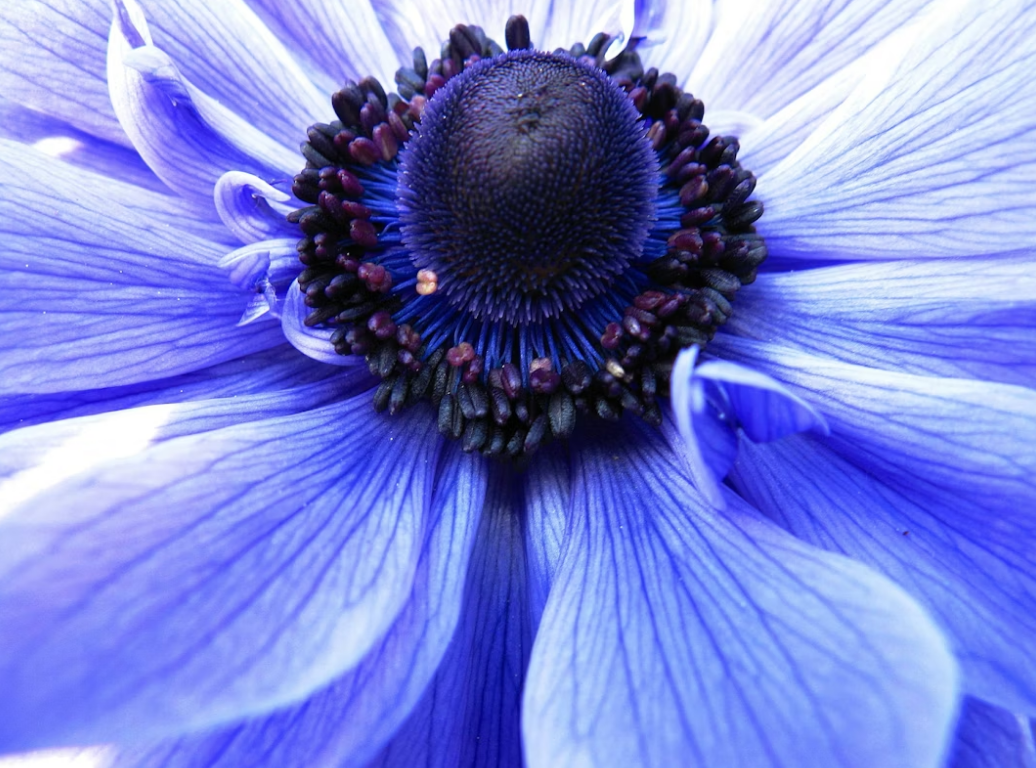
Types of Macro Photography
Nature macro photography emphasizes ecological realism and places high demands on timing and lighting.
Still-life macro photography emphasizes controllability and is well suited for practicing parameters and lighting techniques.
Abstract macro photography uses extreme magnification to transform objects into combinations of shapes and textures.
Documentary macro photography prioritizes information integrity, with image clarity taking the highest priority.
How to Do Macro Photography
Common Parameter Ranges and Logic in Macro Photography
Aperture is the parameter that requires the most caution in macro photography. Apertures that are too wide result in an extremely thin plane of focus, while apertures that are too small introduce noticeable diffraction. In practice, commonly used apertures fall within a mid-to-small range, balancing depth of field and optical sharpness.
When using supplemental lighting, shutter speed mainly controls ambient light contribution. Setting the shutter speed near the camera’s flash sync speed effectively darkens ambient light, allowing the subject to be primarily illuminated by the macro light.
The principle for ISO is to keep it as low as possible. Macro photography is extremely sensitive to detail, and noise introduced by high ISO directly degrades texture. In essence, supplemental lighting exists to support low-ISO shooting.
Refined Lighting Techniques for Macro Photography
Direct lighting should be avoided in macro photography. Light needs to be diffused so that shadow transitions remain smooth and natural. Side lighting or angled side lighting is commonly used because it enhances surface texture and gives the image a stronger sense of depth.
When uniform overall brightness is required, ring lighting or dual-sided lighting can be used, but reflections still need to be controlled. By adjusting light height and angle, it is possible to balance fine detail rendering with overall exposure.
Post-Processing Macro Photography
Exposure Bracketing in Macro Photography
In high-contrast macro scenes, a single exposure often cannot preserve both highlights and shadows. By shooting exposure brackets, multiple images with different exposure levels can be captured and later merged to achieve greater dynamic range.
When shooting exposure brackets, both the camera and subject must remain completely stationary. Any movement increases the difficulty of post-processing. A tripod and a stable shooting environment are critical for this process.
A Complete Approach to Focus Stacking
Focus stacking is the core technique for overcoming insufficient depth of field in macro photography. During shooting, focus starts at the frontmost part of the subject and gradually moves backward, covering the entire subject. Each image is responsible for only one sharp focus plane.
During post-processing, software automatically extracts the sharpest areas from each image and merges them into a single photograph with extended depth of field. Stability during the shooting stage directly determines the quality of the final composite.
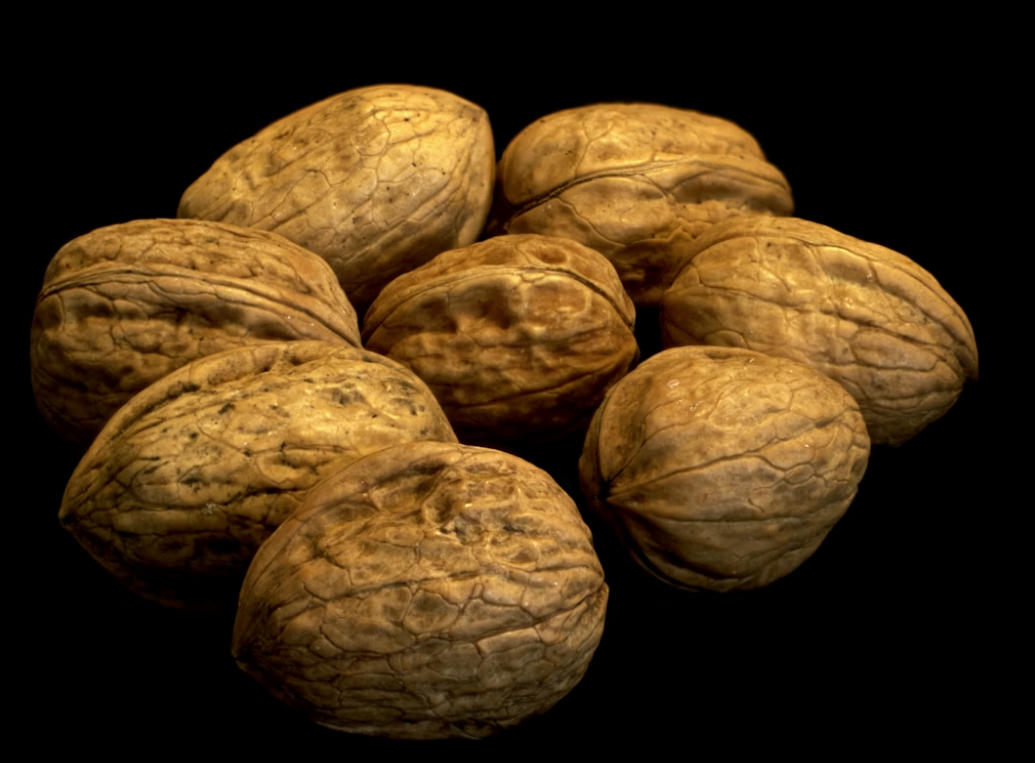
How to Create Macro Photos with Strong Texture and Depth
The sense of texture in macro photography comes from tonal layering. In post-processing, start with basic exposure and contrast adjustments, then enhance subject structure through local contrast adjustments.
Sharpening should be applied primarily to key subject areas, avoiding excessive global sharpening. Color adjustments should remain natural, avoiding over-saturation that makes the image look artificial. The appeal of macro photography lies in authentic detail rather than exaggerated effects.
Conclusion
Macro Photography is a highly controllable form of photography. Once you understand close-focusing principles, master parameter logic, and establish a stable shooting workflow, macro photography becomes a rational and efficient creative process. It relies less on luck and more on understanding and patience. With practice, macro photography quickly shifts from “seemingly difficult” to “not that hard at all.”


ALL COMMENT 3
Add a comment...

Beaucoup de photographe amateur commence par la macro. C'est une très bonne discipline pour comprendre la technique photographique. Par contre, il faut beaucoup pratiquer pour arriver à un résultat de qualité.
2026-03-20 08:59:45

Luar biasa sekali tips foto macro nya. Terimakasih sudah berbagi tips nya🙏🤩
2026-03-17 12:28:04


 Your account requires approval before you can login.


