Why Portrait Photography Needs to Be Learned Systematically
Portrait photography is one of the most stable-demand and highest-conversion fields in photography. Studio portraits, weddings, business headshots, creator profile images, and commercial model shoots all share the same core criterion: whether the client is satisfied and whether the images feel refined and professional.
For beginners, portrait photography requires understanding the logic behind every choice. Why certain cameras are better suited for portraits, why portrait lenses concentrate around 50mm and 85mm, why flat-looking images are often caused by light direction, and why a single light can still produce commercial-level results.
The ultimate goal of this article is to help those who have just picked up a camera truly step into the world of portrait photography.
What Type of Portrait Photography Do You Want to Shoot?
Before moving forward, you need to clearly identify the type of portrait photography you mainly plan to work with. Different types place very different demands on cameras, lenses, and lighting.
Wedding Photography
Wedding and event portraits emphasize reliability and speed. Shooting conditions are unpredictable, ranging from outdoor lawn ceremonies to hotel ballrooms. The pace is fast, lighting changes dramatically, and moments cannot be repeated. In this context, autofocus reliability and high-ISO image quality matter more than extreme resolution.
The camera needs a stable continuous autofocus system, dual card slots, and strong high-ISO performance. Lenses should cover mid to medium-telephoto focal lengths with sufficiently large apertures to handle low-light environments.
Professional-grade equipment from major manufacturers in the USD 3,000 range generally meets these requirements. Models such as the Sony A7 V, Canon R6 Mark III, and Nikon Z8 offer reliable ISO performance and continuous autofocus. Choosing a camera with dual card slots is strongly recommended for wedding work, since few things offer more peace of mind than an instant backup.
For lenses, 28–70mm zoom lenses from major manufacturers work very well for weddings, especially indoors. Zoom lenses with apertures of f/2.8 or faster are essential. Large apertures improve low-light performance and help blur cluttered backgrounds to emphasize the subject.
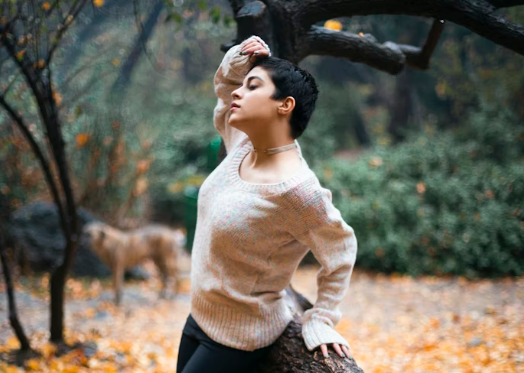
Artistic Portraits
Artistic portraits and personal portrait sessions focus more on image control. Shoots are repeatable and adjustable, with greater sensitivity to dynamic range, color transitions, and lens character. The priority here lies in achieving the intended visual expression.
Camera choice is relatively flexible for artistic portraits. Any camera with stable white balance performance can be sufficient. Since artistic portraiture centers on the photographer’s conceptual expression, specific camera model recommendations are intentionally avoided. In some cases, optical imperfections can even enhance individuality. For example, vintage Helios lenses produced in the former Soviet Union are highly valued for their distinctive swirling bokeh when used wide open.
Indoor Portraits
Indoor portraits usually require active lighting control. Space is limited, backgrounds are controllable, and lighting becomes the core variable determining image quality. Equipment choices should focus on flash systems, triggering methods, and stable support.
Almost any camera that supports external flash can handle indoor portraits, which makes models without a hot shoe, such as the Lumix S9, worth careful consideration. Telephoto lenses are generally unsuitable for confined spaces. When choosing lenses, minimum focusing distance also matters, with macro-capable lenses often being a strong option.
Outdoor Portraits
Outdoor portraits rely on natural light and the environment. Time of day, weather, and light angle directly shape the image. Cameras with higher tolerance are helpful here, while lens focal length choices and filter usage become more critical.
When preserving background detail is important, lens sharpness and camera dynamic range play a key role. Full-frame cameras are preferred to achieve better dynamic range for outdoor portrait work.
Once your shooting type is clear, all subsequent equipment decisions become much simpler.
The Best Cameras for Portrait Photography
In portrait photography, a camera’s core value lies in three areas: autofocus performance, dynamic range, and high-ISO noise control. Megapixels are not the primary concern.
Looking at the three mainstream systems—Canon, Sony, and Nikon—their orientations for portrait photography are clearly defined.
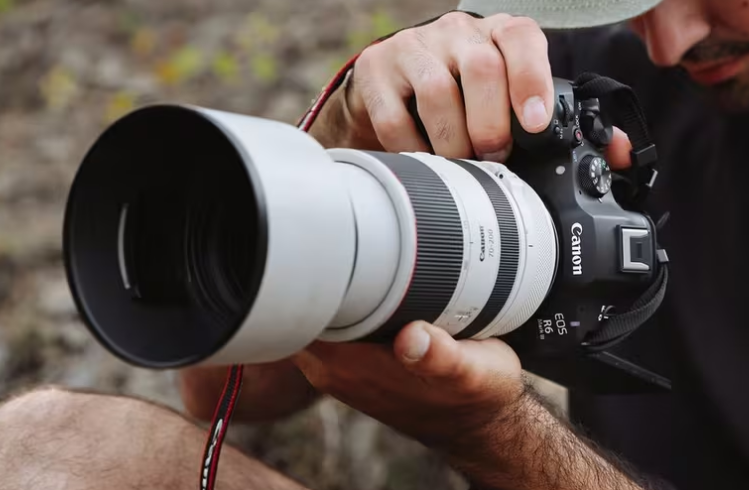
Canon
Canon’s strengths lie in skin tone rendering and eye-detection autofocus logic. The brand consistently emphasizes “natural skin tone reproduction” and “subject-priority autofocus algorithms,” and these are reflected in long-term choices within color matrices and AF behavior.
The EOS R6 Mark III, for example, offers dual card slots and over 15 stops of dynamic range, making it highly suitable for wedding photography and outdoor portraits.
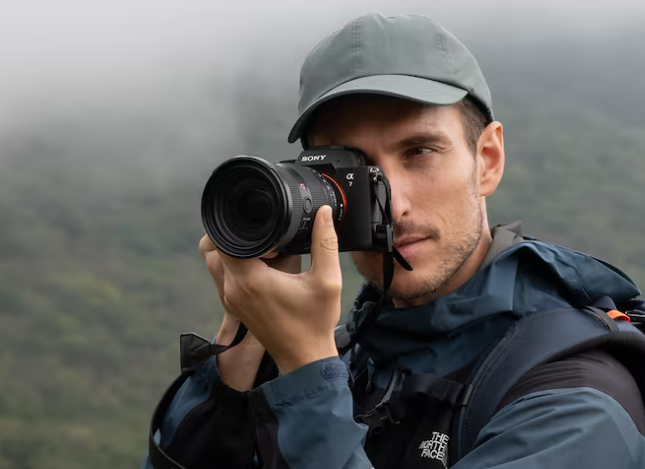
Sony
Sony excels in autofocus technology and overall system completeness. Real-time eye AF and human and animal recognition achieve very high success rates in complex environments, making Sony well suited for commercial work that demands efficiency.
The A7 V strikes a strong balance between price and performance. Its partially stacked Exmor RS CMOS sensor and real-time recognition AF allow fast and reliable focusing even in challenging conditions, significantly improving efficiency when capturing facial expressions.
Nikon
Nikon has a solid reputation for dynamic range and high-ISO detail retention. Cameras like the Z6 III perform exceptionally well in backlit situations, preserving skin tone detail and making them ideal for natural-light and environmental portraits.
Color profiles available through Nikon Imaging Cloud and flexible color optimization calibration in Nikon NX Studio further enhance the portrait-friendly workflow.
For beginners, the recommendation is straightforward: prioritize mid-resolution cameras with strong autofocus and high-ISO performance, and allocate more budget toward lenses and lighting.
The Best Portrait Lenses
On full-frame cameras, 50mm closely matches the natural human field of view, making it ideal for half-body and environmental portraits. It does not demand excessive shooting distance, offers moderate background compression, and is easy for beginners to control. Affordable 50mm f/1.8 lenses provide large apertures at friendly prices, making them excellent first portrait lenses.
The 50mm focal length is so classic that brand-specific recommendations are unnecessary. Some older DSLR-era lenses may focus more slowly than modern designs, but overall, a 50mm lens remains essential for any portrait photographer.
The 85mm focal length is the classic choice for close-up portraits. The longer shooting distance produces more natural facial proportions, avoiding exaggerated noses and facial features. Most commercial portraits, actor headshots, and formal ID-style images are created at this focal length. Every major manufacturer offers 85mm lenses. Given the longer focal length, image stabilization is beneficial, though it increases cost.
The 35mm focal length can be used for environmental portraits, though it demands stronger composition skills and careful control of shooting distance to avoid facial distortion. At close range, the distortion can enhance dramatic tension, making it better suited to photographers with more experience.
Zoom lenses have practical value for events and weddings. When a zoom lens is needed, a 24–70mm lens designed for your current camera system is sufficient. During the learning phase of portrait photography, prime lenses are more helpful for understanding composition and light.
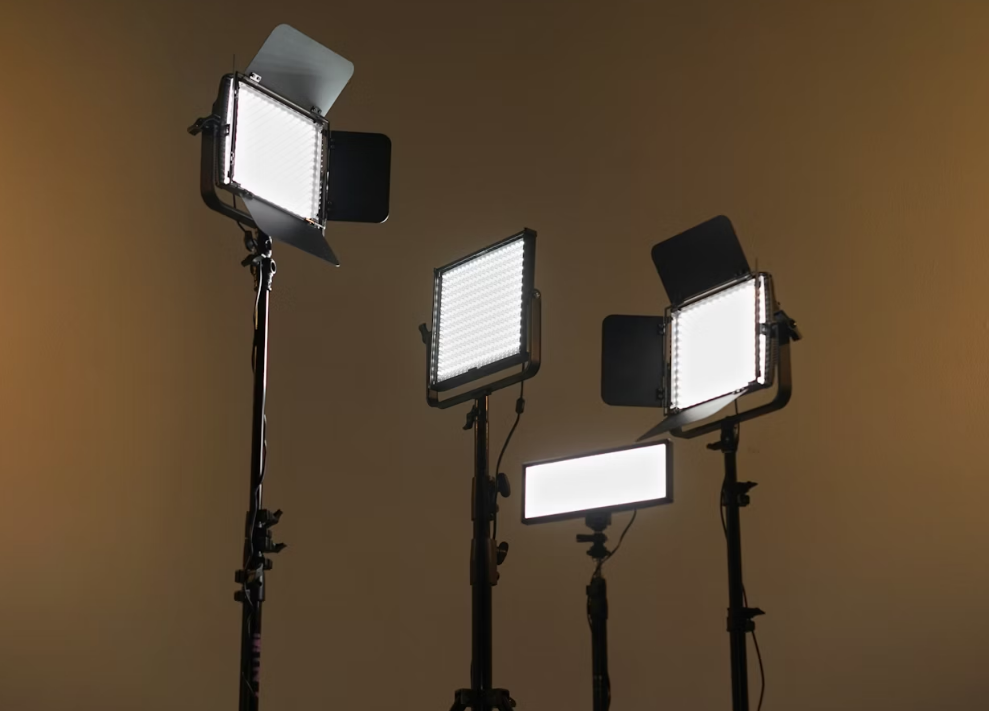
Building Controllable Light with Minimal Gear
In portrait photography, light always matters more than the camera. On-camera flash works for emergency fill, but direct flash creates flat lighting and harsh shadows. Off-camera flash marks the true entry point into portrait photography. Even a single flash, once detached from the camera and directionally controlled, offers commercial-level potential.
The most fundamental and effective lighting setup consists of one structure: key light plus reflected or ambient fill.
Place the key light at approximately 45 degrees to the subject’s front side, slightly above eye level, angled downward. This position naturally shapes facial contours and creates clean catchlights in the eyes.
Position a reflector on the opposite side to lift shadow areas and control contrast. White reflectors suit clean, fresh portraits, while silver reflectors increase contrast for a more dramatic look.
In outdoor portraits, front lighting works well for safe commercial results, while backlighting creates atmosphere. When shooting against the light, a low-power flash used as facial fill solves gray, dull skin tones.
When ambient light is already pleasing, reverse the approach. Let ambient light act as the key light, and keep fill light intensity low to maintain skin detail. In this scenario, an on-camera flash can serve as a rim light, placed slightly behind and to the side of the subject to illuminate shoulders or hair and separate the subject from the background. This approach is particularly timeless in portrait work.
Fill light should not aim to make the face overly bright. Preserving shadows gives portraits volume. A practical check is simple: if skin texture remains visible in shadow areas, the light ratio is healthy; completely blocked shadows indicate insufficient fill; flat-looking faces indicate excessive fill.
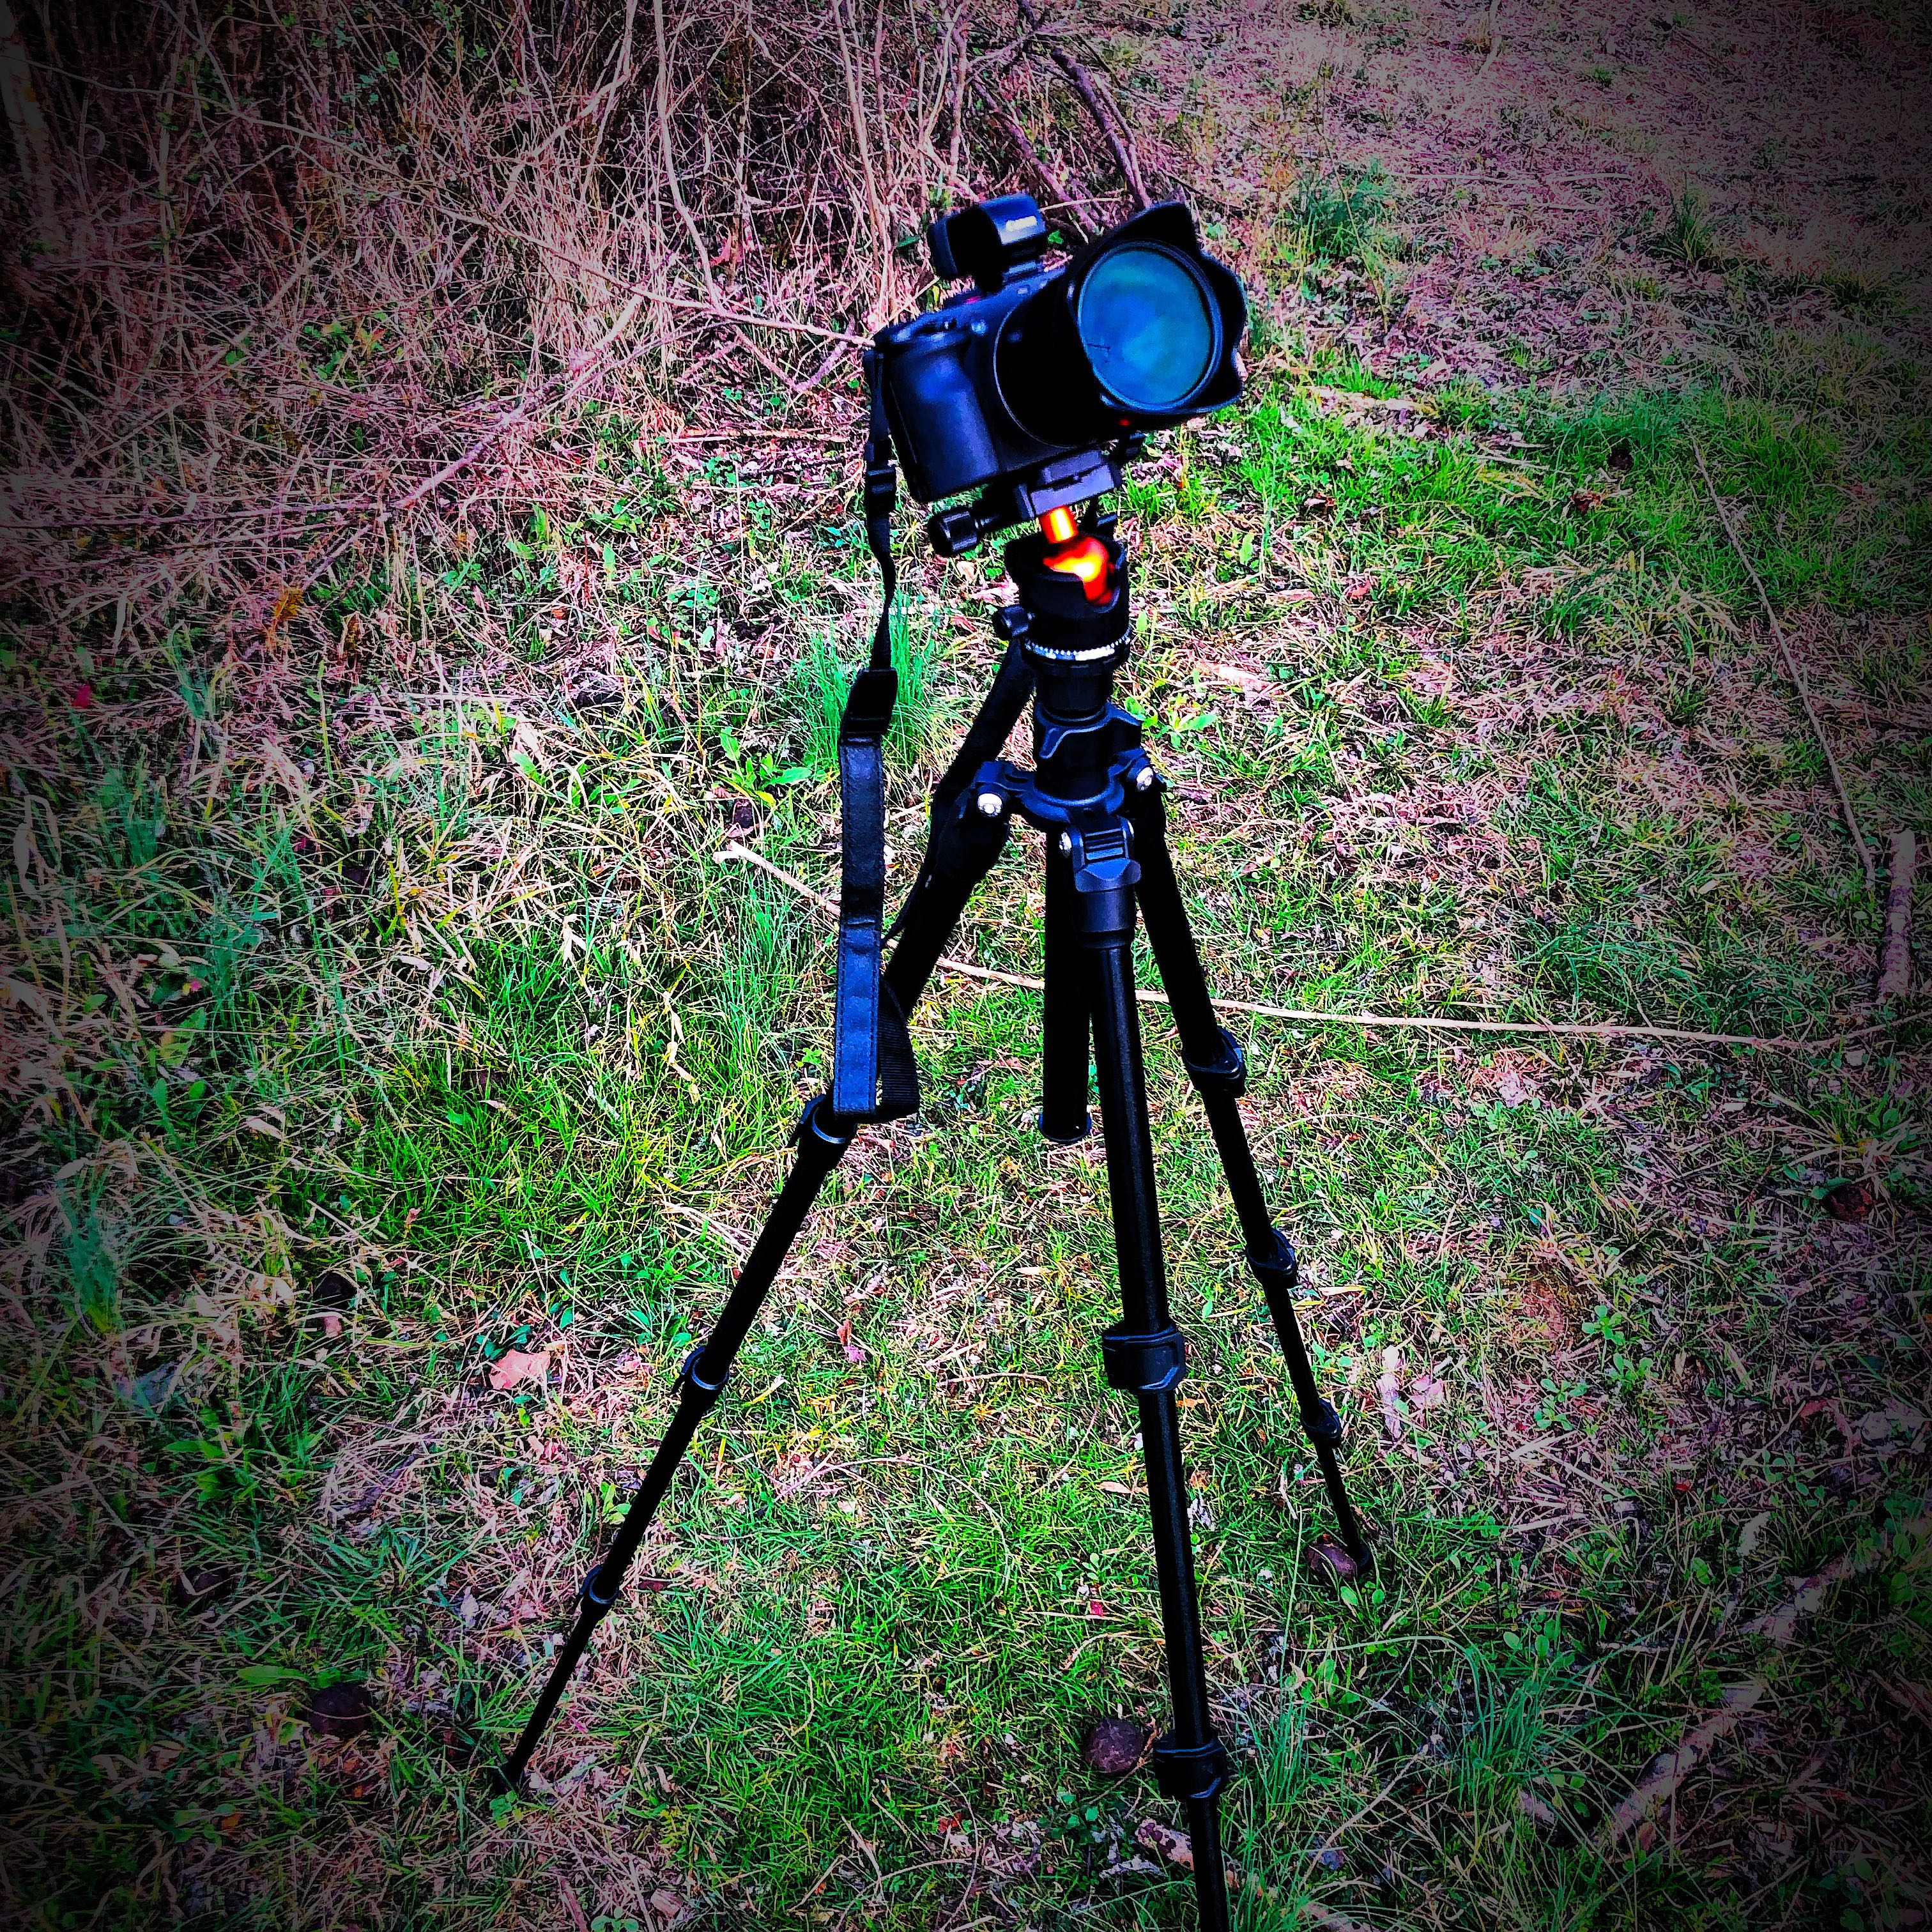
Adding a tripod represents a clear upgrade point. For composition and lens usage, tripods pair especially well with 50mm lenses. Once the camera is fixed, you can focus fully on directing expressions and poses instead of juggling framing adjustments. This is particularly helpful for half-body and close-up portraits, where even slight subject movement can shift the focal plane. A fixed camera makes it easier to recognize the moment when distance feels just right.
A tripod also enables slower shutter speeds. You can confidently use longer exposures to capture ambient light, then use on-camera flash or fill light to freeze the subject. This approach works especially well indoors or at dusk, producing images with natural atmosphere and clear subject definition. In this case, on-camera flash functions more as a motion-freezing tool than as primary illumination.
Summary
Start by defining your shooting type. Choose a camera that emphasizes autofocus and high-ISO performance. Establish stable perspective with a 50mm or 85mm lens. Use off-camera flash and proper light direction to create depth.
Once you can consistently reproduce a lighting setup and understand how light shapes the face, portrait photography becomes less complicated and transforms into a skill you can refine continuously.

.PNG)
.PNG)
.PNG)


 Your account requires approval before you can login.


