The Definitive Guide: Correct Cleaning of Your Photographic Equipment—Overcoming the fear of damaging your gear
20 April 2026
![]() 9
9

Created by:
Fred Villalba
Website Designer and Consultant, Online Store Designer, and Professional Photographer.
www.fredvillalbafotografia.com
Instagram @fredvillalbafotografia
The time comes when we know our equipment is somewhat dirty or dusty, and especially when we notice spots in our photos that ruin them, and particularly when we believe it's our camera's sensor that is dirty, we worry and wonder how we can clean it ourselves without damaging our camera.
But today I am going to show you how we can clean it ourselves and, most importantly, take good care of our equipment.
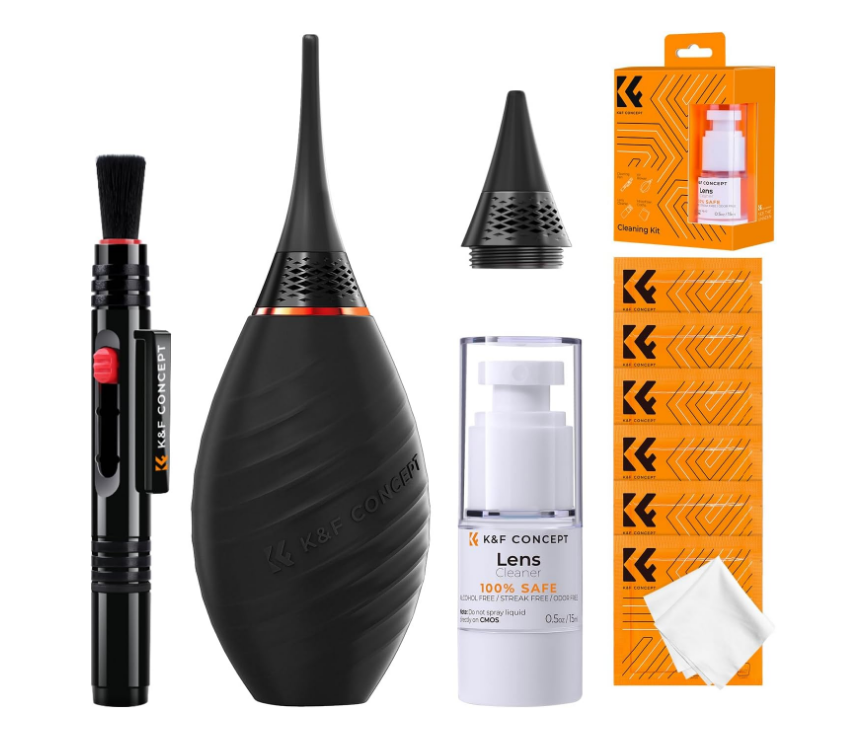
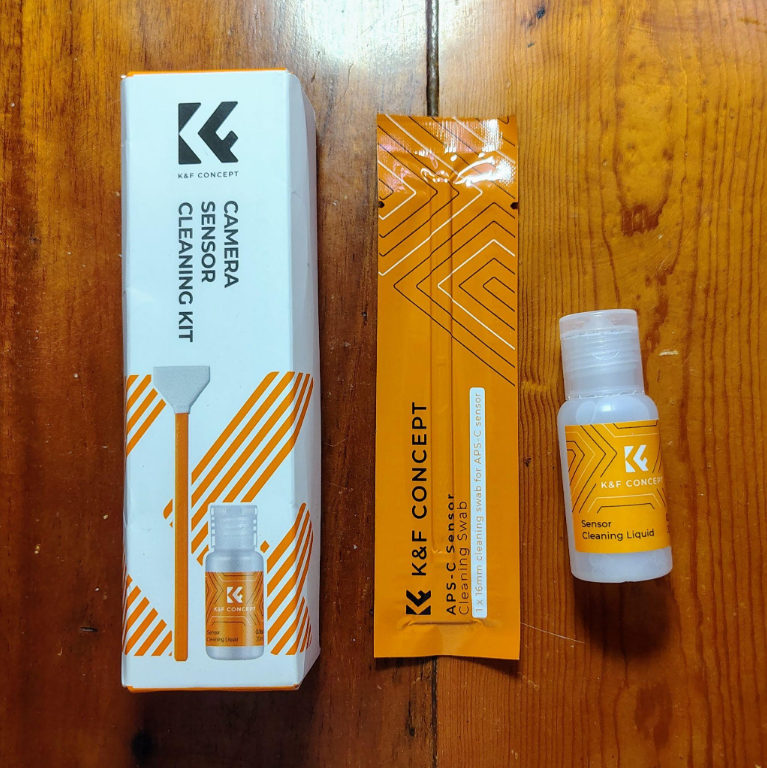
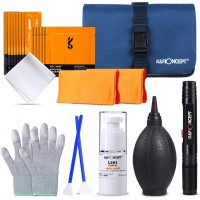
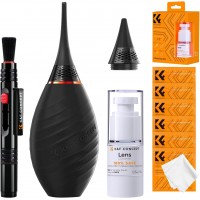
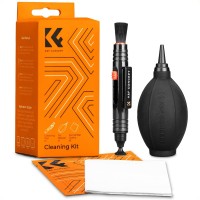
First, we need to know what we require to professionally clean our equipment. In this case, my recommendations are any of these two cleaning kits from K&F Concept:
● 10-in-1 high-end cleaning set https://www.kfconcept.com/SKU.2147-10-in-1-high-end-cleaning-set
● 23-in-1 cleaning kit https://www.kfconcept.com/SKU.1868-23-in-1-cleaning-kit
Before you start, always remember and memorize these three rules.
1. Never blow with your mouth: Micro-droplets of saliva could fall on the lens or sensor. Always use controlled air.
2. Less is more: Do not clean your lenses every day. Only clean them when it affects the image.
3. Find a clean environment: The worst place to clean is outdoors.
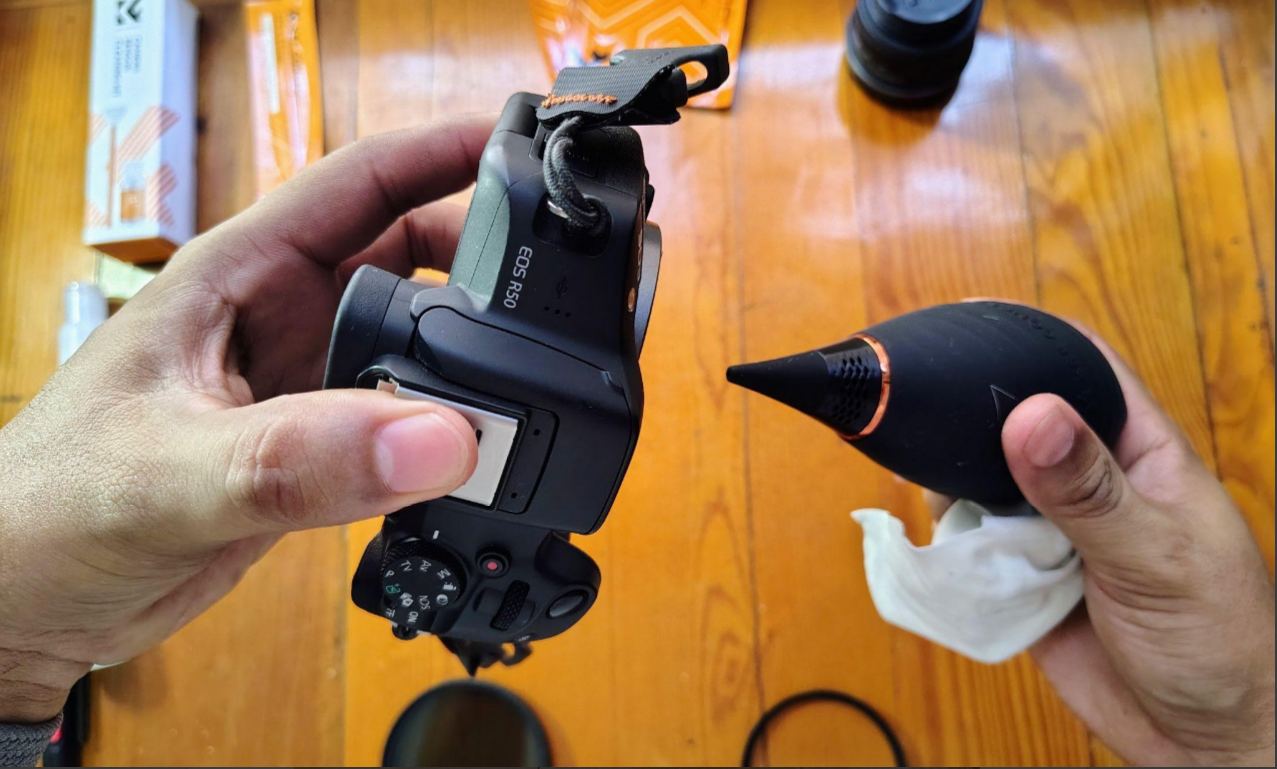
Step 1: Cleaning the Camera Body
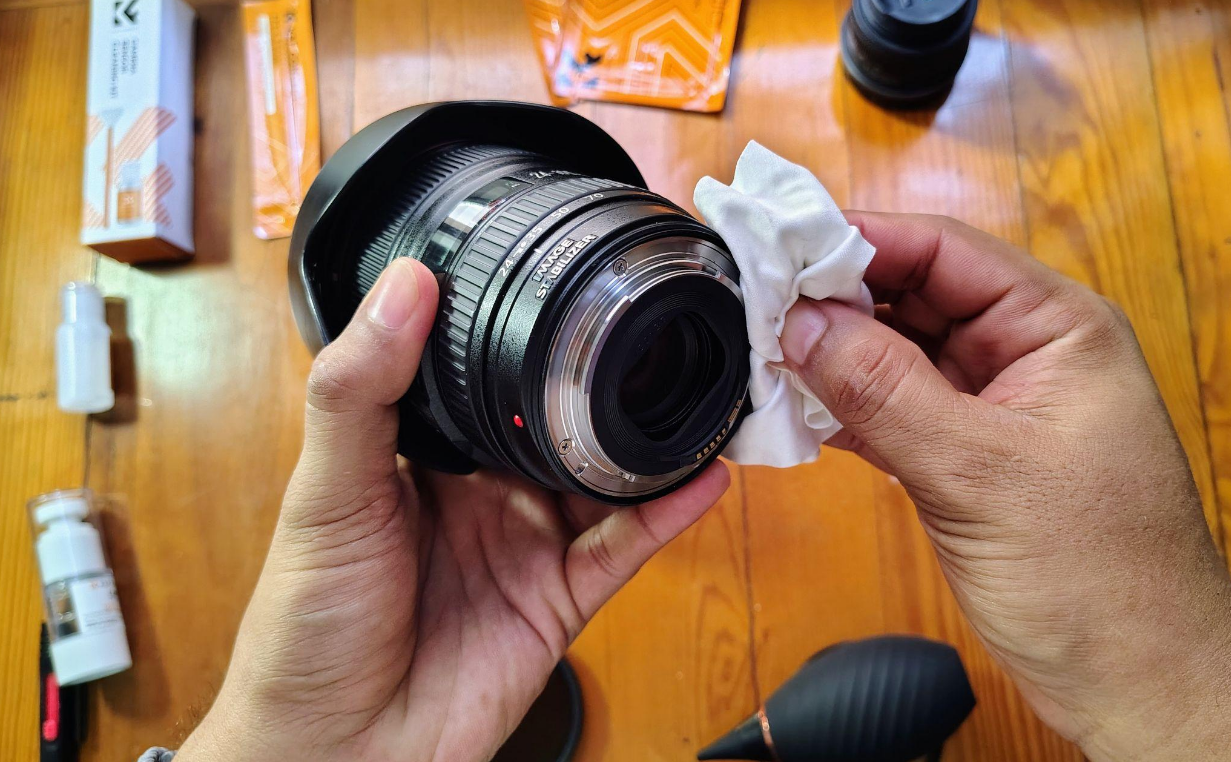
The easiest and quickest way is to use the air blower to remove all the dust specks on our lens or camera, blowing into every corner. We can complement this with a microfiber cloth to wipe away the dirt from our hands that accumulates on the camera.
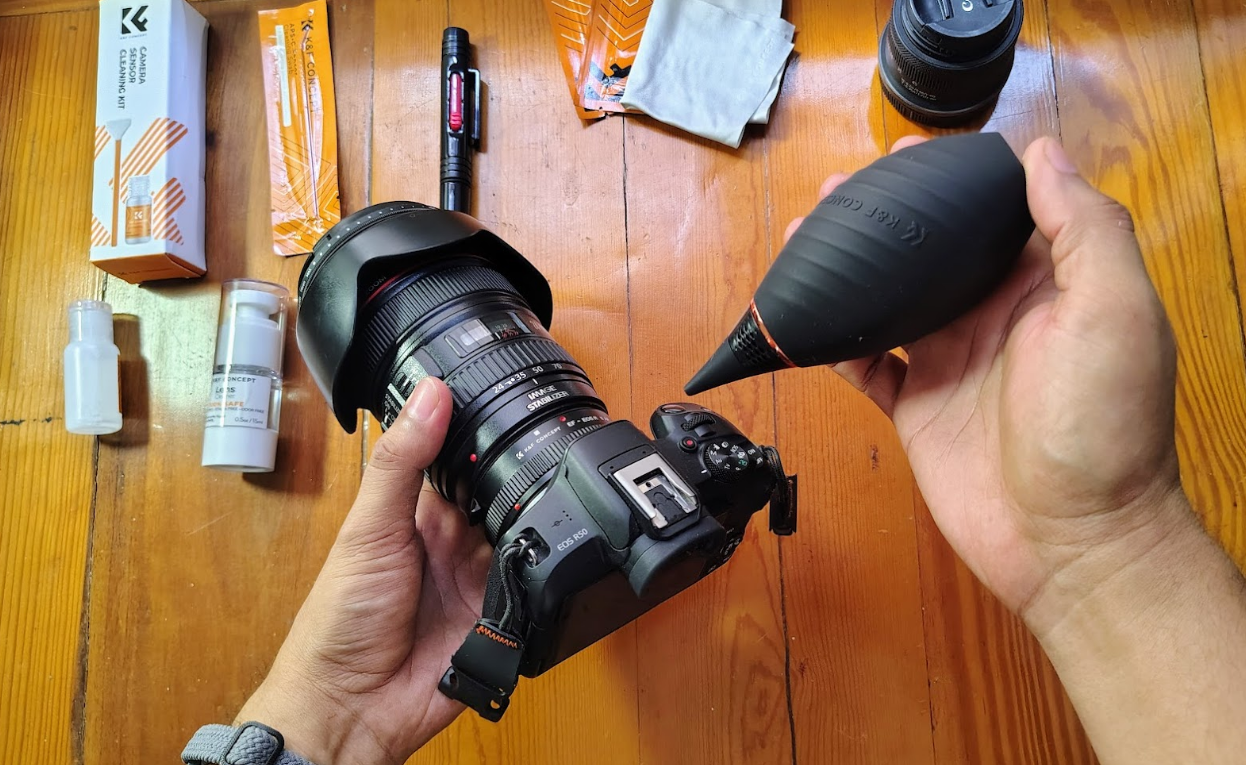

With this, the entire camera and lens are clean externally.
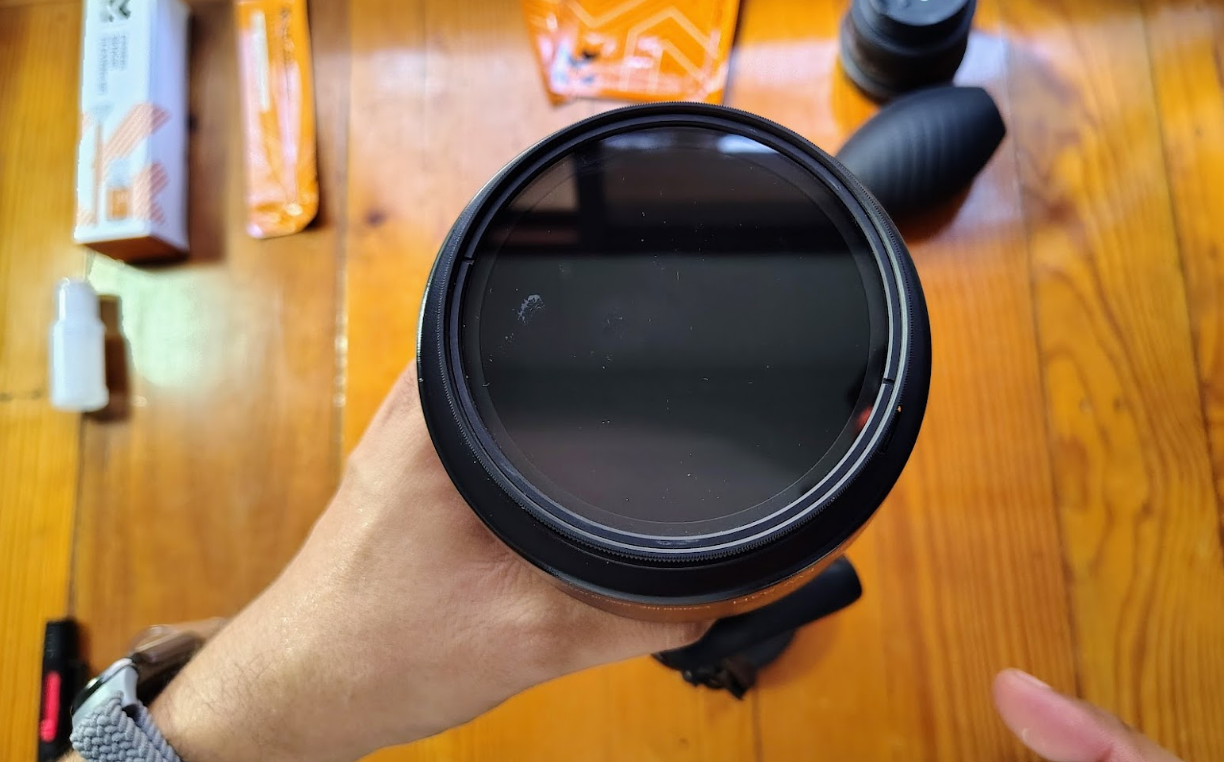
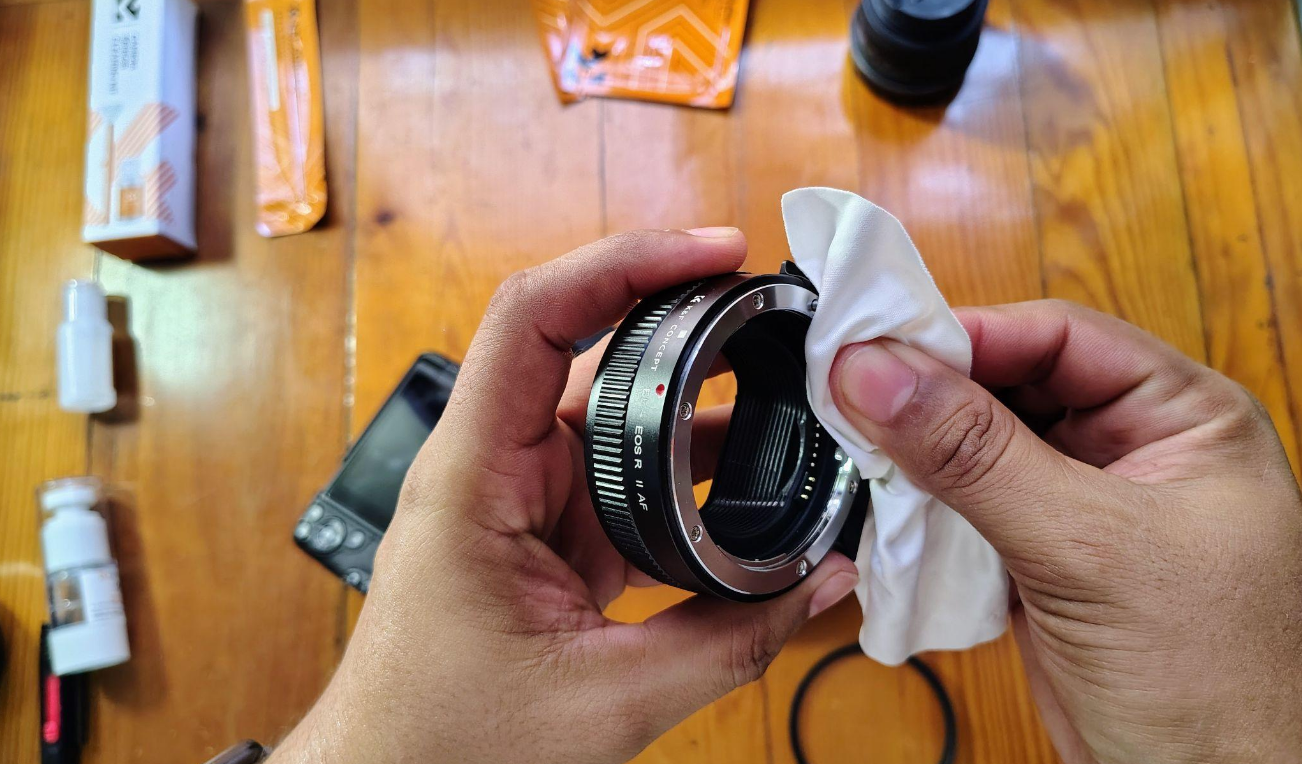
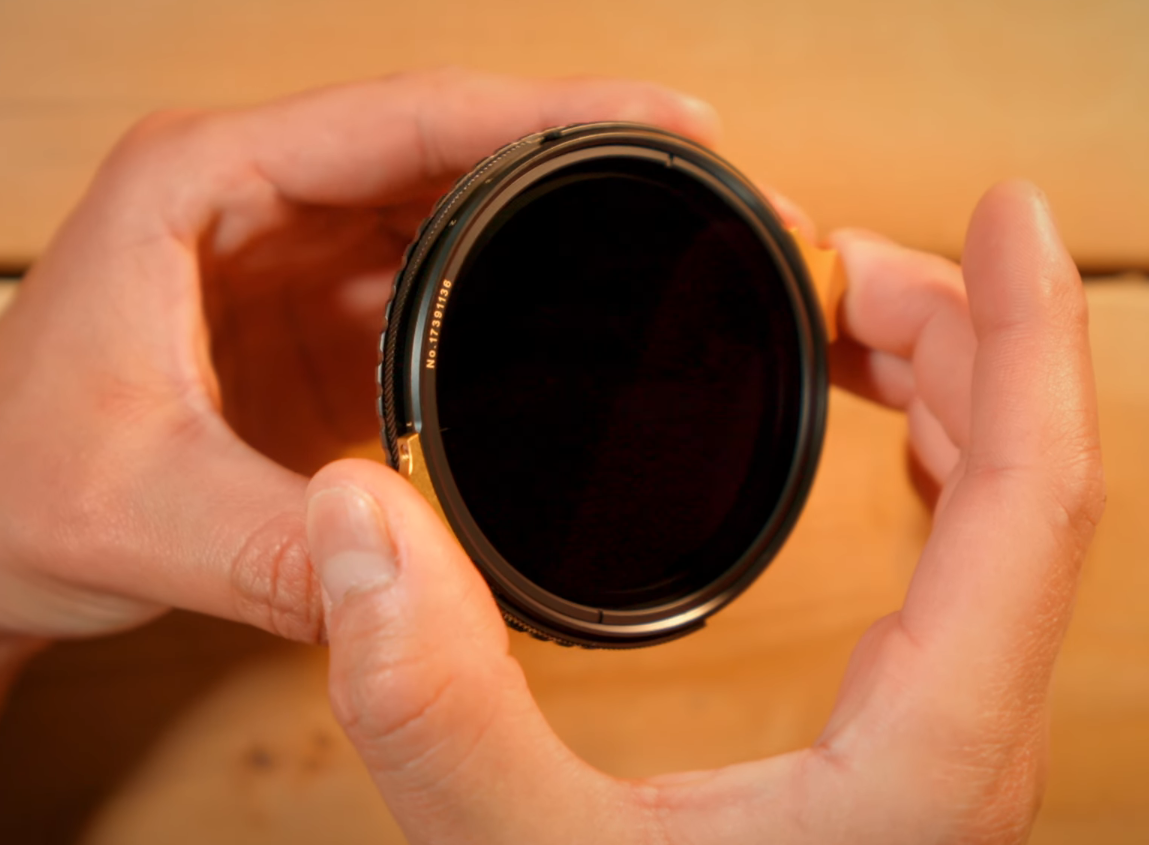
Step 3: Cleaning the Mount
Although it may not seem necessary, the mount of our lens and our camera must also be cleaned. This prevents moisture and dirt from causing false contact between the lens and the camera. Even if it does not look dirty and we always leave the lens attached, it can still get dirty.


Sky is full of spots that ruin the photo.
STOP HERE!
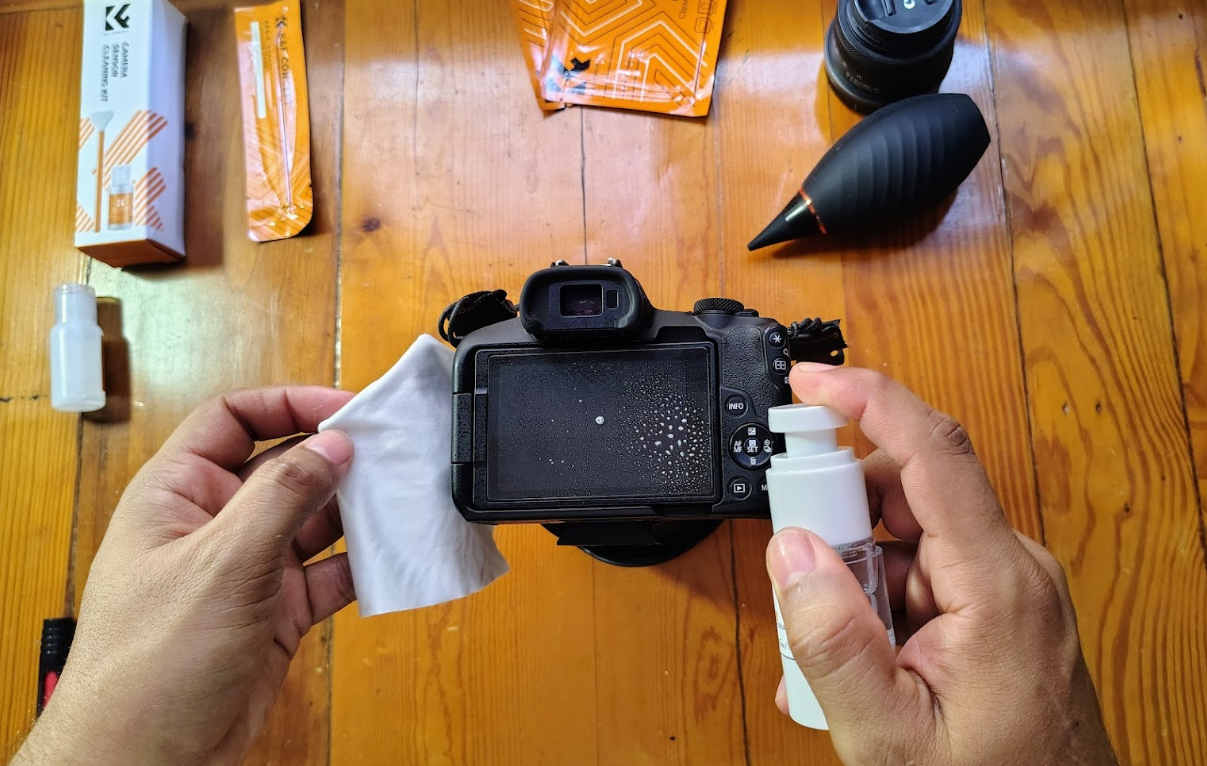
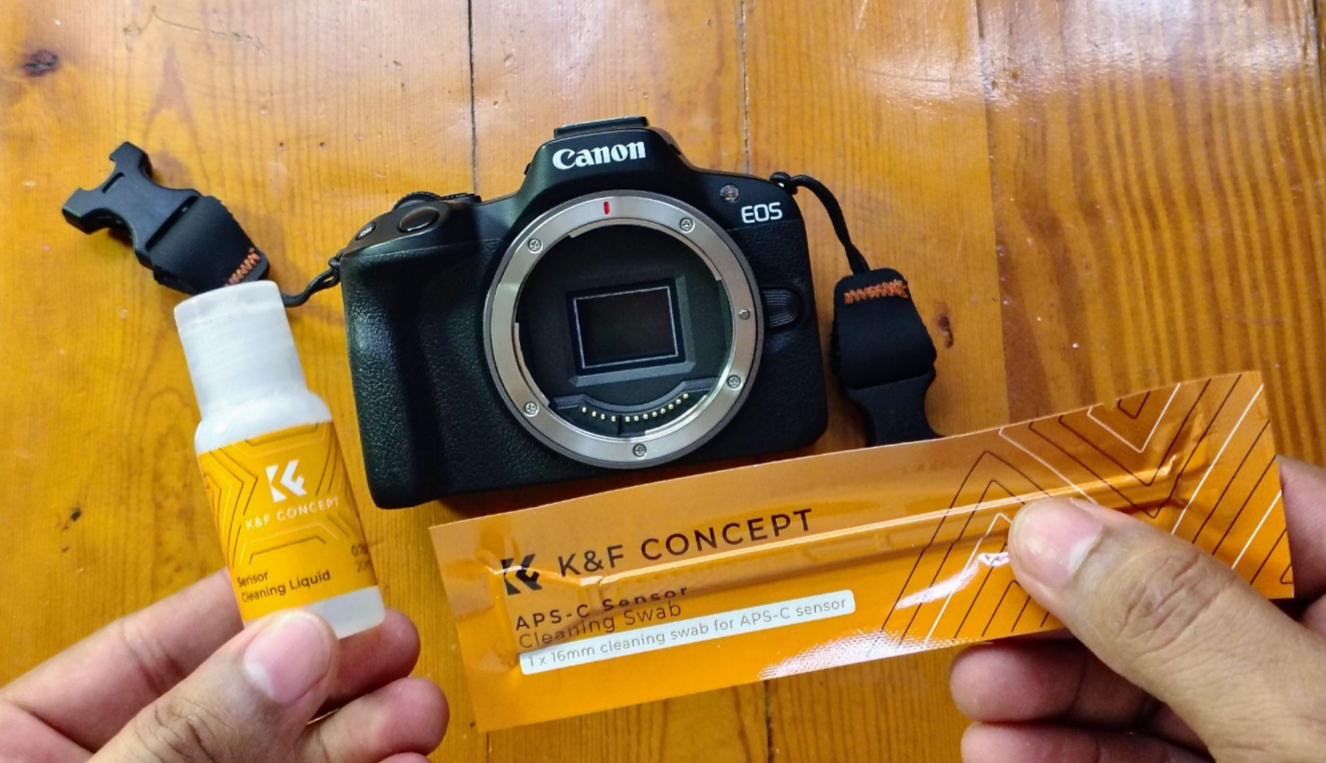
The liquid for cleaning the sensor is NOT the same one you use for lenses
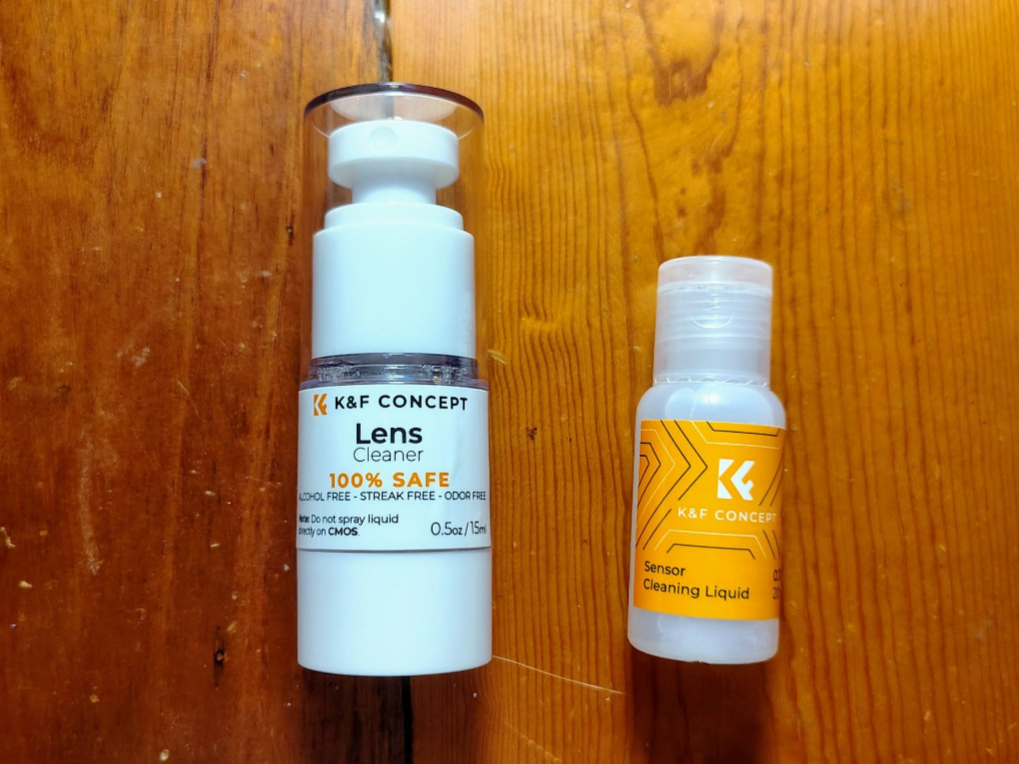
So, avoid mixing them, and especially for the sensor, never blow on it with your mouth or use a microfiber cloth directly. For this step, you need a specialized liquid for sensors like this.
How to proceed now?
1. If your camera is a DSLR, you need to activate the "Sensor Cleaning" mode in your camera's menu to lock the stabilizer or raise the mirror.
2. Place the camera face down and give it a few puffs with your manual air blower. This is so that any dust specks fall out of the camera due to gravity.
3. Open a vacuum-sealed swab (the size of your sensor: Full Frame or APS-C). Put only 1 or 2 drops of the sensor cleaning liquid on the tip.
4. Rest the swab on one end of the sensor with light pressure.
5. Gently slide it to the right in a single continuous movement and slide it back to the left.

You can flip the swab and give it another pass in the same way as before, but this is optional, especially if you feel the sensor is too damp or you can still see a speck of dust. Remember that sensor liquid is special and evaporates faster.
6. Remove the swab and throw it away. Never reuse it.
Remount the lens and repeat the test. You should now notice that your camera is impeccable and clean.
Conclusion
Keeping your equipment clean does not have to be a nightmare if you have the correct tools and separate the products according to their use (remember lens liquids for lenses, sensor liquids for sensors!).
Having a complete kit on hand saves your life before any important session. And for your day-to-day use, always keep at least a microfiber cloth handy to quickly clean the viewfinder, screen, or lens to remove some dust specks.


ALL COMMENT 9


Excelente guía! Aunque La limpieza del sensor es una de las cosas que más temor da
2026-04-23 05:58:51


 Your account requires approval before you can login.


